Mod Tech Monday - Gloster Gladiator Painting and Weathering Part 2
In this hobby of ours, there are few things as satisfying as taking out a freshly finished model down to your local flying spot to bathe in the natural light and all the adulation of your flying buddies. It also gives you that nice warm and fuzzy feeling of pride, not because you've opened a box and assembled a model but because you went that extra step to bring the model to life through weathering!
But let's take a few steps back because the last time I wrote about the Gladiator I had completed the bulk of the weathering and was getting close to “final assembly”. Well, I went ahead and gave a final look over the weathering in natural light and touched up the paint and weathered effect where needed before then applying a coat of acrylic-based matt varnish to the entire model (masking the canopy frame off first of course). It's essential that before you do this you always test the spray on a hidden part of painted foam, for me this was easy enough, as removing the plastic cowl gives you a nice chunk of paint foam generally hidden from sight on which to test. I had also installed a small pilot bust at this point as a good friend 3D printed and painted one up for me and it turned out to be a very lightweight and worthwhile addition.
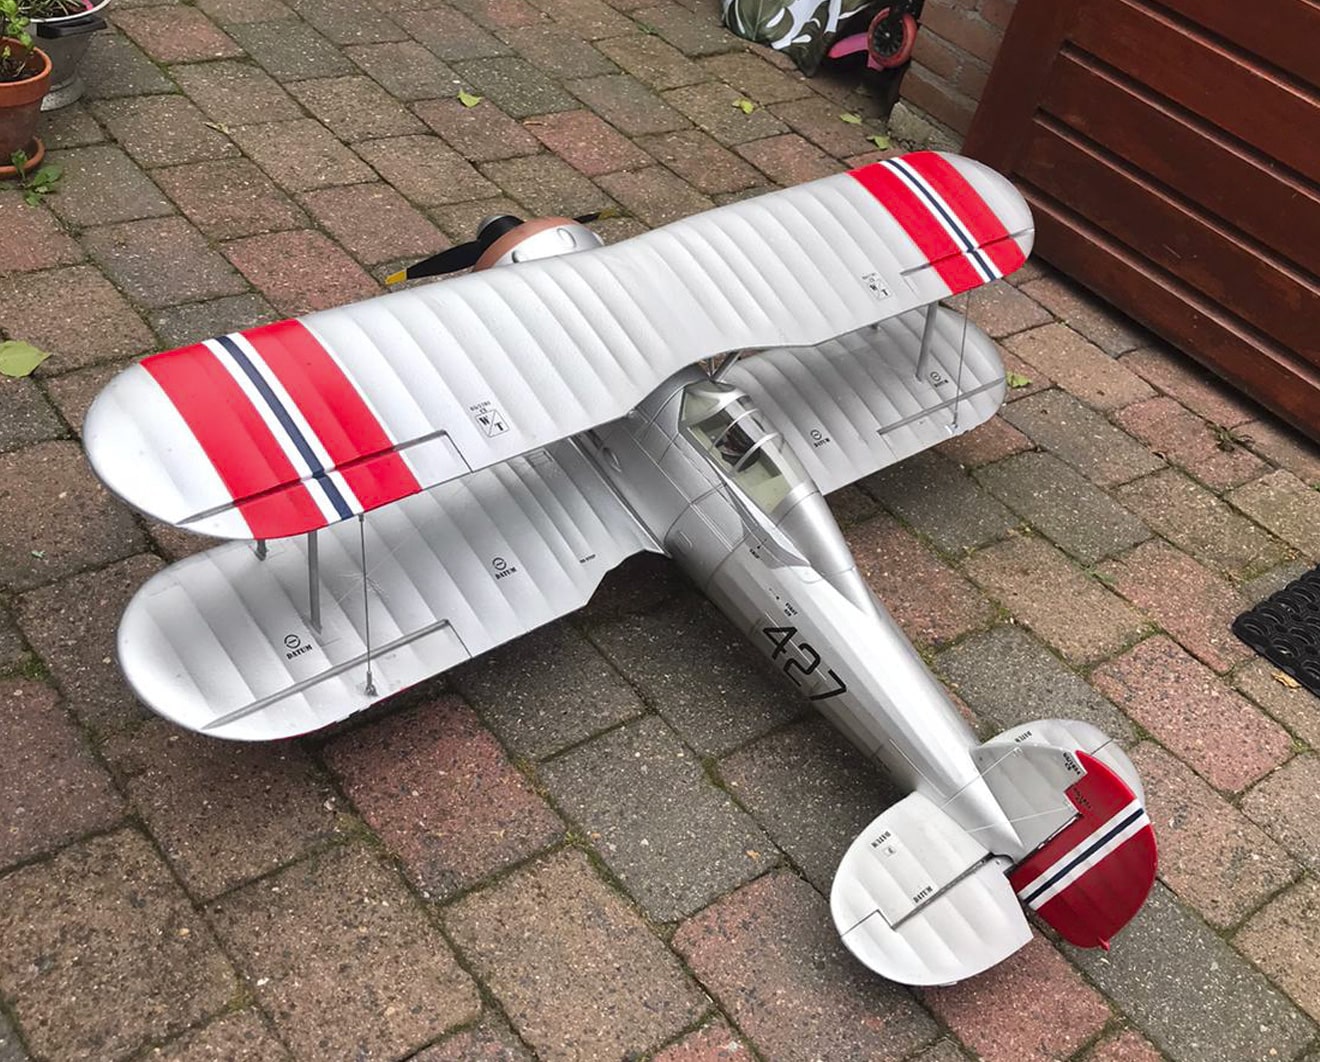
So now with all the above done, the parts alone were looking good individually and it was now simply a case of following the assembly manual and bringing all parts together as one. I say “as one” because the Gladiator is best kept fully assembled. It is small enough to transport and store like this fully rigged and having made that choice from the very beginning, the final finishing touch was a far simpler affair, the rigging wire. Now supplied in the box is what you will recognize as pull-pull wire (plastic-coated twisted steel cable) and that does work well as rigging wire on the Gladiator, however, it makes far better pull-pull wire. So with this in mind, I happily welcomed an extra spoil of pull-pull wire into my “bits” box in the workshop and instead used Tom Hunt's suggestion of a 0.5mm elasticated silver string. I ordered mine from Amazon in the US, but you will likely find it at any good arts and craft store (it's used for bead jewelry making). This wire has several advantages over the supplied, it's faster and easier to work with, it can be pulled tighter and then simply be tied off once positioned correctly and if you should happen to catch it, there is zero chance of the wire pulling on the anchor points of the model and risk damaging it as its elastic by nature.
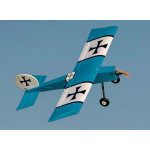
And now finally, with the rigging wire done and the receiver installed it's time to see how she looks “done” and sitting out in the natural light of the garden (I'm pretty sure we all do this when we finish a project) and if you are anything like me, you'll spend a good few minutes moving it around and admiring it from different angles, all part of the fun. Speaking of which, the real fun came just a few days later with a VERY uneventful maiden and many many following flights that day with this Norwegian Gladiator. Against the blue sky, these markings really pop, and even on close fly-bys, the subtle weathering is clear to see. If you are not convinced, take a look at the Part 2 video below, the results are clear to be seen but not only that, for yourself, if you are thinking of weathering a model it's clear that its definitely worth a go, the sense of satisfaction and pride that can be gained from what is essentially a straightforward process will surprise and reward you in many many ways.
Get the Durafly (PNF) Gloster Gladiator Mk1 Biplane Fighter EPO 1100mm (43")
---
Hear it First: Join our Mailing List
Sign up to receive new product updates, exclusive discounts, news, and more!