Heat shrink covering film is one of the easiest materials to apply, yet for many, it seems daunting and beyond their ability.
It easy to understand just how this lost art has become so foreign to the RC aero-modeler. With the rise and rise of the foam PNF model many people never cut their teeth on a balsa kit. This article is not about the pros and cons of balsa kits, we’ll leave that debate for another day. Covering film is easy and convenient to use and would be the obvious choice over other techniques like tissue or silk span. Covering is mainly used over balsa and plywood, although it can also be used over fiberglass, and even foam (low-temperature film only).
Practice makes perfect when it comes to applying shrink covering films, and this tutorial will help you develop those skills. You will require a minimum set of tools for covering your RC plane. There is no need to spend a huge amount of money here. Whilst most things can be substituted, I’ve found the HobbyKing covering to be the best covering film and I think many would agree. Whilst plenty of Asian companies have similar-looking items it’s in the application where they fall down.
The minimum tools required are:
- Covering Iron
- Heat Gun
- Covering Film<
- Sharp Scissors
- Sharp Hobby Knife
- Cutting Mat
- Masking tape
Some modelers may be lucky enough to have much of this lying around, you might just need to pick up a few bits and pieces before you get started. Hopefully, you shouldn't have to spend more than $50 bucks to get cracking. Like everything in modeling, practice makes perfect so be prepared to spend an hour or two covering test pieces to see what works and what doesn’t. Firstly, cut yourself a few pieces of ply and balsa, you will use these parts for test pieces. You can reuse the parts as many times as you like, however, before you attempt to cover anything, the parts need to have been sanded smooth. You must get the final finish smooth because if the final finish is not smooth it will show after covering, do not think that you can hide it! It is a lot like paint in that respect, you’ll never be able to hide a poor finish with paint either. You will find an 800 grit sandpaper gives a decent sanding job is a critical piece of getting a good covering job. Once you have sanded your pieces be sure to remove the fine sanding dust. The dust particles trapped under the covering film adhere to the film when heated, resulting in reduced adhesion to the model. This leads to imperfections and bubbles and should be avoided. For this reason, it is best to sand your model and parts outside if possible so that dust is not left floating around in your model work area. If you can, cover your model in a separate area.
Let’s Try a Test Piece
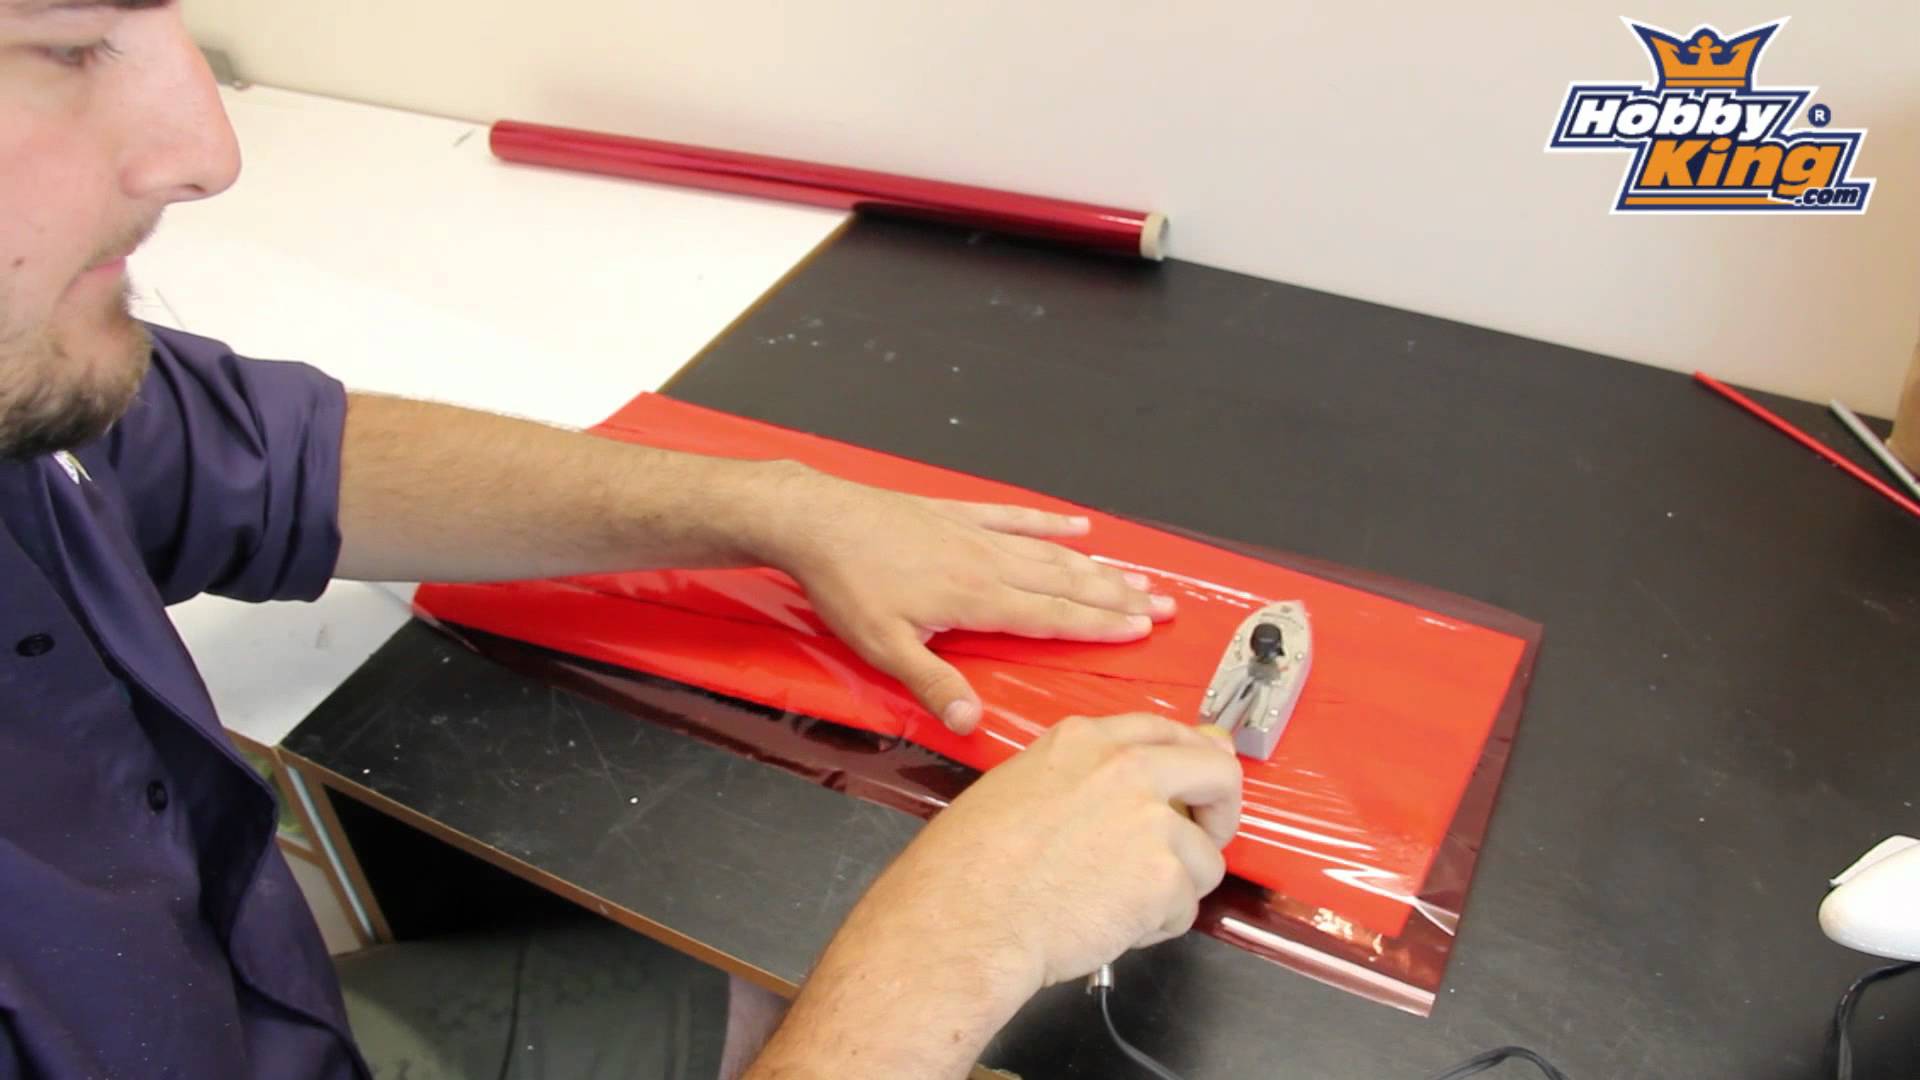
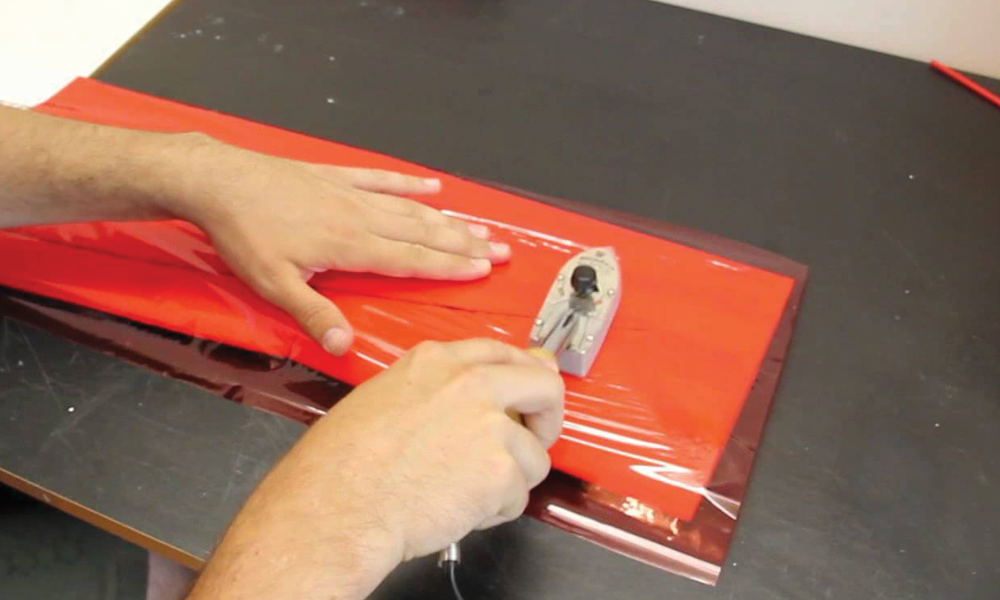
Place your cotton sock on the covering iron, if you have not already done so, and then bring the iron up to a low temperature. Ideally, you want to use the lowest heat possible to get the job done. You can always use more heat but you cannot undo overheating. Sand all of your test pieces and be sure to remove any sharp pieces. The pieces should be as smooth as possible. Use a vacuum and a clean brush to move along the woodgrain and lift any dust that has accumulated into the woodgrain. Place your test piece on the covering film and cut an oversize piece from the roll. Remove the protective coating from both sides of the covering film. You may need to use your nails to pick at the edge of the coving film. It can be tricky to remove but it has to come off. The covering should be laid down with the brightly colored side facing up and the adhesive side facing down. No additional adhesives are required to get the covering to stick to the timber surface. The adhesive is thermally activated. Now place the test price face down and fold the shrink film around the item. Using the tip of the iron gentle tack down one side of the covering and using scissors cut the excess off in a way that allows you to fold the covering over and overlap. Spend as much time as possible removing dust from the model pieces, not just on the surfaces where the film would be applied, but all areas. We do this to dust is not dislodged and moved to areas where it could affect the finish or the adhesion. Wipe the whole airplane down with a dry cloth and using a vacuum and clean brush, try to lift dust from the timber grain and surface. Be sure to get into all the crevices that you can. Clean your area as you go and try to keep the area as dust-free as possible. A damp cloth works great but be sure not to use that on your model. Now you're ready to cover!
Wings
 Place the covering film over the wing and allow about 4 inches of excess, and trim to suit. You may need to cut for both sides and top and bottom, so do that now and put it aside. Don’t forget to remove the clear plastic protective backing from the film! The covering will first be tacked down at a few places around the frame, then it will be sealed at all the edges, then shrunk tight. The recommended sequence for tacking is shown below on the left. For a wing or other flight surface, you'll generally cover in two pieces, bottom first. Cover the top last so that it wraps around the wing and this will place the seam under the flight surface making for a neater finish. These overlaps should be around 1/8 inch. This sequence will help ensure that seams are less visible. When covering the fuse, if you need to use multiple pieces along the length, start at the back of the fuse and work your way forward, so that the seams face to the back. For a fuselage, four pieces work well. Look closely at the numbered sequence of covering pieces, and at the overlaps.
Covering Iron Temperature
Covering films have an adhesive that is activated at a particular temperature. Generally, a higher temperature is required to shrink the covering film after tacking it in place. This is why it is highly advisable to set the dial to the lowest possible because you can always adjust the temperature to a higher temperature but you cannot go backward. Different films will behave differently so always be sure to use test samples. Take note of any directions that were supplied with your roll of film as they may suggest temperatures. However, if you use the sample test approach, you’ll be just fine. You could use a temperature gun to measure the iron, but it is really not necessary. Cut a small piece of the covering, place it onto some test timber. Apply the iron and ensure that the covering film is adhering to the timber and if it begins to change color slightly, this is fine and you can start tacking the covering film to the model.
Covering the model
Let’s start with the wing, however, the same process is used on the fuselage and tail surfaces. Place the wing upside down and tack the corners of the wing.
- Start at the corner
- Let the corner cool for a couple of seconds, then gently pull the covering towards the opposing corner
- When you pull the covering your goal is to just take out the slack, only, so do not apply force. You’ll damage the model or put stress on the airframe. After tacking at corner "2", proceed to pull-and-tack around the airframe, till all eight (8) labeled spots are tacked.

- Note: if you don't like how a certain spot is sitting you can reheat that area and gently pull the covering up, then reposition and stick it back down again with more heat. It is totally normal to have wrinkles at this point and we will deal with this at a later point.
- Seal all the edges except the wingtip. The best way to do this is tack at the midpoints between all the previously tacked 8 points, e.g. halfway between 1 and 5, then seal the entire length between 1 and 5.
- Repeat the rest of the way around the frame. Don't seal over the edge of the frame yet, just on the surface.
- Now you're ready to tackle the special case of the wingtip. It's special because it has compound curves, i.e. curves in more than one direction at once. To make the film go around these curves, the film has to become very stretchy, so we must apply more heat. (Make a note of the covering iron setting before adjusting for the next step as you will need to return to the setting once you have finished). Turn up the covering iron temperature to the shrinking setting, if you are not sure get some test samples and be sure before you start on the tip. Once you are settled on the setting, pull the covering tight over the tip, and begin to iron it in place.
- Work slowly from the center to the front, then from the center to the back. Move along just a few millimeters at a time and stick the covering just over halfway up towards the top side of the wing.
- Once the covering is completed we will trim the excess covering with a sharp blade. Make sure it is razor-sharp and preferably new. Tip: New blades may possibly be coated in a protective oil to stop oxidation. Use alcohol or a detergent to remove this as you don’t want this on the seam.
- Now turn the iron back down to the lower tacking temperature, and let it cool for the next steps.
- We'll start to trim the excess film. Then start to trim along the edge, leaving enough to overlap as in the wing section diagram above. Rest your cutting hand on the edge itself, use that to guide you as you cut. Work slowly you can achieve a fairly neat straight line. You do not need to be perfect, as it will be overlapped and covered later. For the trailing and leading edges, overlap a bit more than half the thickness of the edge.
- Go over the entire structure, making sure that it is completely and securely sealed: leading edge, trailing edge, wingtip, and inboard edge.
- Now cover the topside of the wing, using the same procedure. Again trim the overlaps using the frame as a guide; this time, but the blade itself on the frame, using the frame as your ruler to get a straight cut.
Now that both bottom and top are covered and all the edges sealed, it's time to begin shrinking the covering.
- Put the heat sock onto the (cool) covering iron. You will be running the iron over the entire surface of the covering, and the surface will have small scratches if not protected.
- Turn the iron on, and let it heat up to the "shrinking" temperature. You can also use a heat gun for this. Again, test the heat gun on a test pattern. The heat gun is very effective at shrinking the covering so without scratching the surface.
- Now start moving the iron over the bottom surface. Do not press down onto the wing rather gently glide over the surface. Start the iron at one end of the structure and move it in slow circles. The speed that works will depend on the iron temp and the covering brand/color. Do not leave the iron over one spot, as you will burn a hole in the covering! You should see the covering change color slightly, wrinkles will form and disappear as you move the iron.
- As one area begins to look tight, drift slowly downwards to the adjacent area.
- Keep moving down the entire wing until the whole bottom covering looks tight. You will probably need to go back to a couple of small areas and re-shrink. When the bottom is done, flip the wing over and do the top side.
- Repeat the same process for the fuse and tail
Now you are done, happy flying! Written by gozerian
Hear it First: Join our Mailing List
Sign up to receive new product updates, exclusive discounts, news, and more!