Introduction:
HolyBro may be one of those manufacturers that you think of when considering flight controllers, ESCs, or FPV video transmitters but they also occasionally make quadcopters too.
Back in Late 2016, HolyBro made their first 'ready to fly' quadcopter – the Shuriken X1. The X1 was a fantastic first attempt from a fledgling quadcopter vendor and the design was very much of its time – an 'X' configuration with all of the components in a single tall tower in the middle of the quadcopter. It flew amazingly well and the only downside to it was the use of a huge, single PDB that held the flight controller and all of the other pieces in one proprietary board. Reviews of that model were very positive but the downside was that the use of that proprietary mainboard meant that upgrading was impossible.
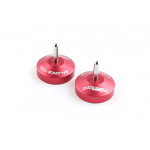
HolyBro must have been listening as the design changed to something that used more standard-sized pieces in the Kopis 1 quadcopter released in late summer 2017. That quadcopter set the high bar for RTF quadcopters that year and was universally praised. This time the frame was a more modern stretched 'X' setup and use the more traditionally sized HolyBro Kakute flight controller with the excellent HolyBro Atlatl FPV transmitter on top with the ESCs out under the arms. The custom frame was one of the stars of the build with recessed screws that were anodized to match the prop nuts and the motors. Every reviewer that got their hands on one had pretty much the same reaction – 'Wow!' A quick side note: HolyBro seems to use the names of ancient weapons to name their technology, Google terms like Kopis, Kakute, and Shuriken and you'll see what I mean! Before this latest version of the Kopis arrived I did wonder how they would improve on that original quadcopter. The Kopis 1 was well made, well-specced, and performed brilliantly. I wasn't disappointed when I looked at the Kopis 2 SE, they've done their homework - again.
Specs
HolyBro released their F7 version of their popular flight controllers a few months back and again they feature the vibration mounted IMU in the middle. What that means is that the little part of the flight controller that senses the movement of the entire model isn't hard-mounted onto the flight controller but is connected by a little block of foam, it's great for reducing vibration and means you don't need to 'soft-mount' anything.

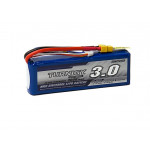
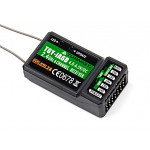
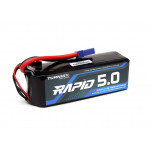
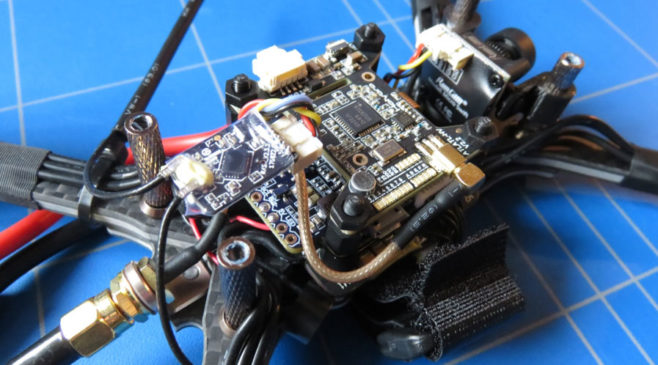
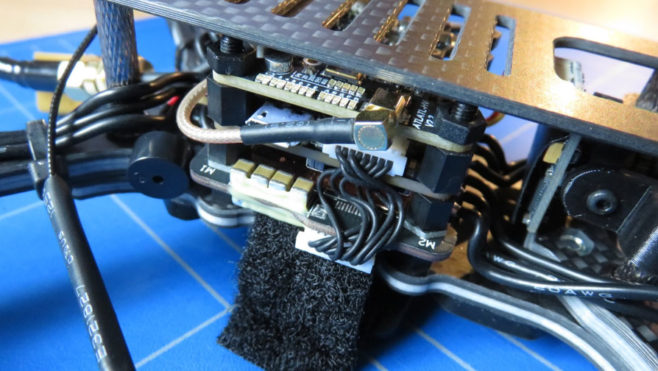
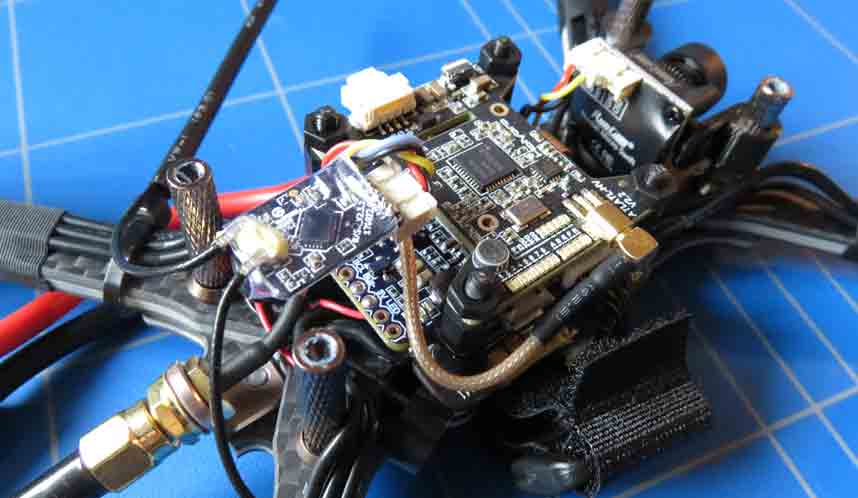
I wanted to use this new HolyBro F7 based FC on another of my latest builds using iNavflight but support for it isn't in iNav yet (looks like V2.1 will have it). Support for it is in Betaflight and my Kopis 2 SE came with Betaflight 3.5 installed, configured, and with a decent tune all 'ready to go'. That flight controller is mounted in the middle of the flight stack. At the bottom are the 4-in-1 ESCs. These are the HolyBro Tekko32 BLHeli_32 4-in-1 ESC (Dshot1200 compatible) and connected back to the flight controller for ESC telemetry. On the top of the stack is the latest Kakute V2 FPV video transmitter connecting to a Foxeer lollipop antenna mounted to a metal bracket at the rear of the model. Out on the arms are the very nice T-Motors F40 Pro II 2400KV motors and the model comes with two sets of DALProp Cyclones - my favorite at the moment. This power setup will support 4s to 6s LIPO packs but is really designed for a 4S pack. I used a 1300mAh 4S pack and it performed well (more on that in a moment). Weight before a battery or props is a decent 299 grams. The model is available with and without a receiver, mine came with a real FrSky mini receiver installed making the setup simple enough (the Rx was flashed with the Non-EU version of the firmware).
Before we move onto the unboxing and setup there are only a few other things of note. The frame is a little different too as it has a 'carbon' foam between two layers of 3K carbon fiber, I've not seen that on a model this small before. There is a buzzer here too but the LEDs at the back of the first Kopis model have been dropped to save weight. The camera is a RunCam Micro Swift mounted on 3D printed TPU that provides some vibration isolation for the camera. The camera angle adjustment is huge, pretty much a full 90 degrees of travel!
Unboxing and Setup
Unboxing is a very nice experience as the model comes in its own carrying case that also includes the props, spares, and the joystick for changing the setting on that RunCam camera. The receiver is powered from the USB connection to get your radio in bind mode, hold the bind button on the receiver and then plug in the USB cable and everything should bind up. I had to remove the top deck of the model to get at that binding button but it did give me a chance to take some photos of that flight stack, ESCs, and VTX:
Setup in Betaflight isn't too tricky either. All I had to do was check that the receiver channels were all ok, set up my flight modes, tweak the OSD to be how I like it and then install those props and we were ready for a test flight!
Flying
Not too many surprises here, just lots of smiles. The tune on the model is excellent and the model flies very smooth and stable. In ANGLE mode (self-level and limited roll and pitch angles) the model is very tame and provides a controllable model for a new pilot trying out FPV. Pop it into the intermediate 'HORIZON' mode or 'RATE' mode for the experts and that power and tune come to the front. Flying is fast but controllable with the roll and flip rates set to a decent level. Blip that throttle and you're moving very quickly or looking over the rooftops from quite a height in the blink of an eye so this can keep up with almost any pilot's needs. The controls feel very connected to the model and the entire experience is one of fun from the moment you 'arm' the model. This is one of those models that you could learn with and then stay with as your skills progress. It's a very capable quadcopter and very well put together.
Summary
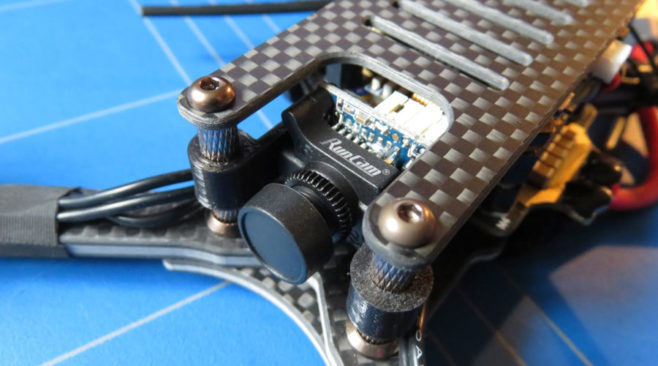
I'm sure you've guessed by now that I've been impressed by this model and would recommend it. There are a few things to comment on though. Due to the 'stretched-X' frame design, there is a lot of the propeller visible in the FPV image (unless you're using an extreme camera angle), and that Swift camera is OK but I'd replace it with something like a RunCam Eagle or high-end CCD camera for the best image. There isn't a GoPro mount in the case either, if you want an action camera mount them you'll need to get one in separately and zip-tie it to the top plate. HolyBro does seem to put a lot of effort into these models and it does show how well their flight controllers, ESCs, and VTX units can perform when connected together. As I mentioned at the start of this article; I've had a set of these components here and they will be finding their way into a quadcopter build in the coming weeks. As someone who gets to see a lot of models, there are a few things on this build that really rams home how much care and thought was put into this; one is how well done the soldering is and another example is the covering of the exposed main power connections at the top of the PDB/4in1 to avoid accidental short circuits. Now that's an eye for detail and something normally only the most dedicated private builder would do. If you're looking for a model that looks the part, has all of the latest technology inside, and flies like a dream and this is one that you should be looking at. Well done Holybro. I can't wait for the Kopis 3!
Written by Painless 360