Introduction
So far in this series, we've looked at what's involved in learning to fly, and then we spent some time looking at the things you need and the best ways to go about it.
In the last article, we will start the lessons needed to get into the air safely and in a controlled way. This process will help you learn to fly safely and have the most fun while not wrecking the model inside of two minutes and end up with you wanting to give up on the whole idea. So, by now you should have a feel for getting the model moves in the air with the throttle and started to master maintaining its height using small adjustments to the throttle control on the radio, landing if the model drifts too far outside of the safe area you have. That's a great start and that's one control out of the few you'll need to master in order to fly. Now we need to actually move the model around a little and work on the others. Remember that every pilot takes their own time to master the moves and skills needed for each lesson. If you feel that you're struggling with a particular lesson, take solace from the knowledge that we've all been there and go back to the previous lesson to get your confidence and determination back before re-tackling the tricky lesson again.
Lesson One - Staying in the Box
TIP: make sure that your model has an auto-level feature turned on. In Beta flight, this called ANGLE mode. It's great when you're learning to fly and you'll keep this on during the entire time you're mastering the controls. This time you're going to fly in the same 2m sided square you've been using in Lesson One but this time you'll correct for any drifts and keep working until you can also move (and hold it) in one place easily.
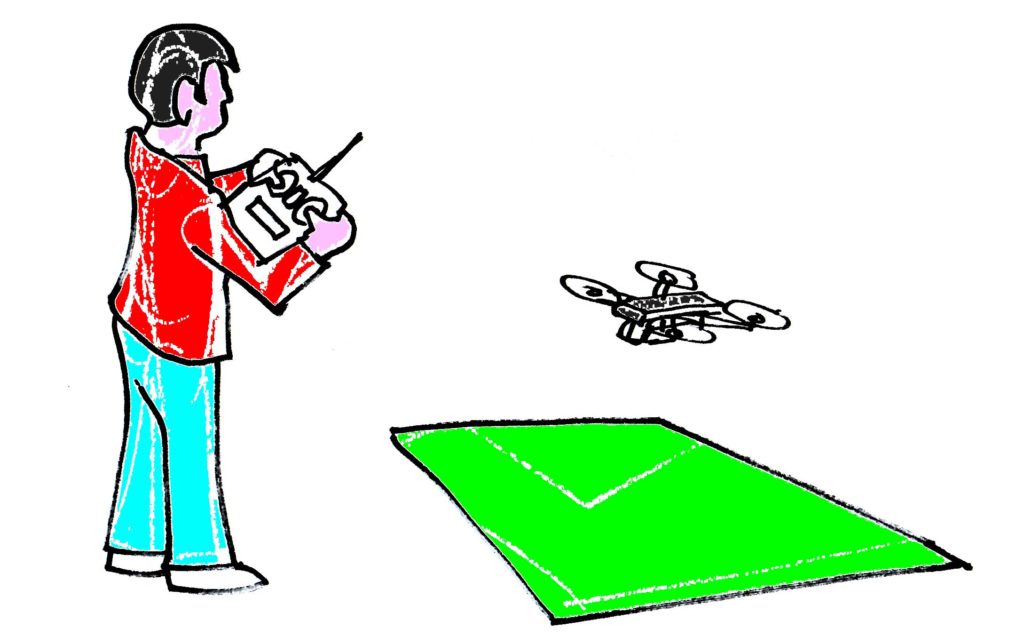
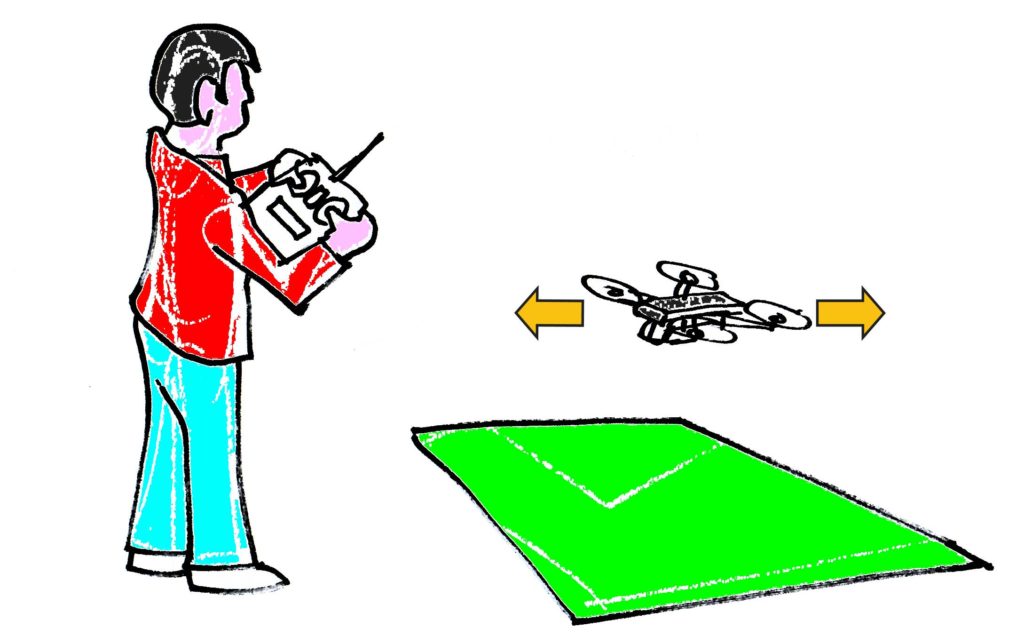
Take off as you did last time and now use the right stick (in Mode 2 radios - see previous articles) to control the movement. With the rear of the model facing you the movement on that right stick mirrors exactly the movement of the model. Push the stick to the right, the model moves to the right, move it away from you, the model moves away too. This is why I like Mode 2 radios; they make more sense for many new pilots. One thing you'll find in this step is that if the model is moving in a direction then you need to input a little of the opposite direction to stop the model from moving. This can feel odd at first and I felt like it was balancing a basketball on the back of my hand with lots of little corrections. It takes only a small movement on the controls for you to get the model moving so practice small movements and bringing the model to a stop afterward. If you feel the model is getting away from you or starts to rotate then lower the throttle and land the model as you did in Lesson One, replace the model in the middle of the practice square and start again. As you get more practice you'll start to feel less like you're chasing the model with the radio and more like it's moving where you want it to be (more on that in the next lesson). If holding the model inside the 2m box is too easy for you then you can look at also varying the throttle to maintain the height perfectly while doing it when the model is using some of the thrust that normally keeps it in the air to move - it will sink slightly. So you need a fraction mode throttle when moving and less when it's hovering. This takes some fine control. You'll know when you are ready for the next lesson when you can hover for an entire battery inside the box and maintain a position without too much trouble. If you can easily do this inside 2 meters, then try it inside a 1-meter box, if that's too easy then try to keep the model inside a 30 cam/12-inch square. I'd move into the next lesson when you can hover easily for the entire battery inside a 30cm square.
Lesson Two – Moving around the box
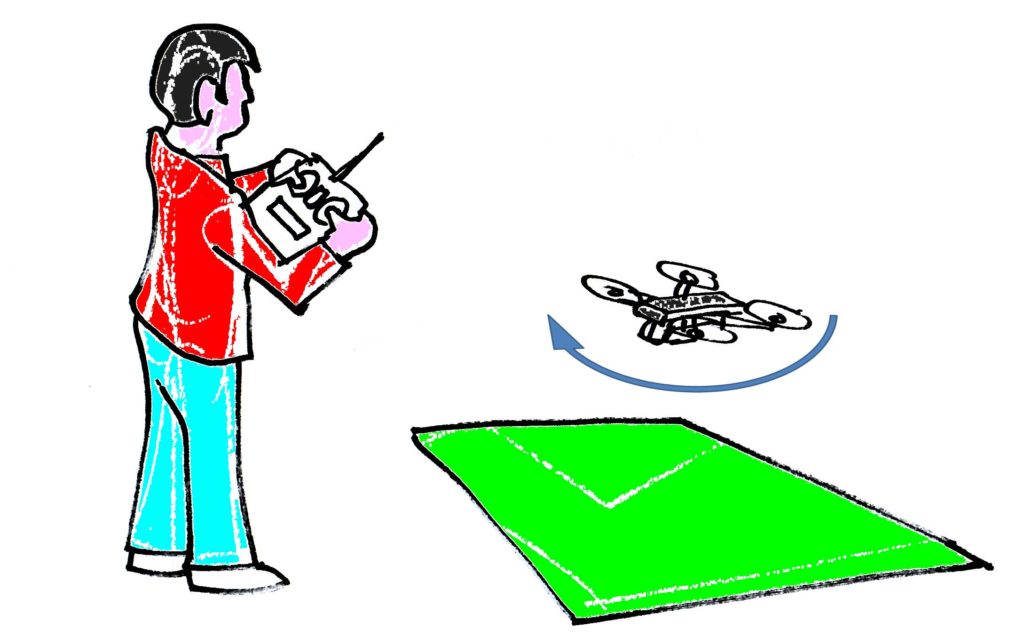
The last lesson was all about learning to move the pitch and roll controls with the throttle to manage a controlled hover. This time it's all about learning to move the model using those same controls. AT this point we're not interested in the rudder or trying anything too fancy with the quadcopter yet - in this step you'll start to feel like you're flying the model for the first time. Hover at waist height again and try to fly a square around the outside of the square, coming to a halt at each corner. If you feel the model is getting away from you or starts to rotate, then lower the throttle and land the model as you did in the previous lessons and start again. Try the movement in a clockwise direction and then anti-clockwise. Alternate so you are comfortable going in both directions equally. This isn't a race to work on slow, smooth movements with clean stops at each corner. Watch that height too! Continue to use the throttle to maintain the height through the maneuvers. Once you can do it without too much trouble then increase the speed a little to make the stopping at each corner a little more work. You'll know when it's time to progress to the next step when you can fly to the corners of the imaginary 2m sided box you're flying in without thinking too much about it.
TIP: Keep going! When you've mastered this step many pilots now feel that they can fly but you've got a few more lessons yet. You've only learned the very basics and there are a few more lessons to master so that when you progress to FPV you can control the model even if something happens to the video feed.
Lesson Three - Starting to rotate the model
By now you're starting to feel like you're flying the model and you've mastered a lot of the basic pieces needed to fly. There is one control we've not looked at yet and there is a reason it only comes in at Lesson Four as it's the one that can cause the most trouble for many new pilots. The rudder is on the same control as the throttle (Mode 2 radio) and you may have moved it accidentally when you've been moving the throttle in the previous lessons. One thing you may have noticed is that as soon as the tail of the model moves away from pointing directly towards you then the model no longer accurately moves in the same position as the right stick making control less easy.
The model is rarely in this ‘perfect' alignment with the tail pointing towards you when flying so we need to learn to control the model in all orientations. The next few lessons are all about mastering this skill. This can be tricky at first and for many pilots is one of the hardest parts of the series. This is also why many pilots 'bailout' at this point as they are going to fly FPV anyway' but if you've made it this then you'll agree with Napoleon Hill - 'One of the most common causes of failure is the habit of quitting when one is overtaken by temporary defeat'. Practice hovering with the tail slightly to one side then the other. Use the rudder to move the tail from pointing directly towards you to slightly one side. If you imagine a clock face over the model then 6 o'clock is when the tail is pointing towards you. Move the tail to the 7 o'clock position and try and hover for a minute. Then move it back into the 6 o'clock and give yourself a brief respite before moving the tail using the rudder into the 5 o'clock position for a minute. For some this feels like the backward step - you felt you were starting to fly in the last bit and now you're back to hovering! Understanding the impact on the controls caused by the orientation of the model is fundamental and then you have it you'll be able to fly almost anything line of sight. If your brain is starting to overheat on this step then drop back to the last lesson and give yourself a taste of simple flying again before re-tackling this lesson. If you start to feel that the 7 and 5 o'clock positions are becoming too easy then try moving the tail of the model further round. Try not to cheat too much by rotating your body to match the models' orientation - I did that sometimes for this lesson and it helps when you get into trouble but doesn't help in the long run.
Lesson Four - 9 o'clock and 3 o'clock rotation
Last lesson we looked at using the rudder to rotate the model to the 7 and 5 o'clock positions and a little further. After enough practice in the last step you're ready for hovering 'side on'. 'Side on' is when the front of the model is facing to the right or left. Now, remember that when the model rotates you have to take the orientation of the model into account. Initially, every one of these steps will require lots of mental energy but, just like learning to drive a car, you'll find that the conscious effort falls away and you can perform the more you want without too much effort.
TIP: Imagine that you are a little pilot sat in the 'cockpit' of the model as this can help orient the controls to match the orientation of the model. As before, take off and hover at waist height and use the rudder control to rotate the model so that one side of the model is facing you. For a minute at a time, use the controls to maintain the hover position, if you start to struggle, swing the tail of the model back towards you to regain control and try again. Many pilots find they need to work in a larger 2-meter square again and then reduce the size of the square as they start to master this skill. Alternate sides on the model and when you can hover without too much trouble then try and gently move the model forward and backward in a controlled manner with the side of the model still facing you. Once you can do this you're ready for the final few lessons!
Summary
All that took me about 6 months to master (I was learning with a helicopter to spend as much time fixing the model as I did on the lessons)! There are only three lessons left in the series and when you've completed them you'll be able to fly and hover safely in any orientation - essential for being in control of the model at all times. For me, the last two lessons only clicked after I got a small indoor quad and spent every evening in the lounge hovering it 'side in' battery after battery, night after night. There will be times when you feel that you're never going to mater the lesson if you feel like that then put the model away for a few days then come back to it. View it as a challenge and don't let yourself be beaten by it! Next time we'll finish the lessons for multirotors, look at learning o fly FPV, and then we can look at learning to fly with the fixed-wing!
Written by Painless360