
The FrSky series of transmitters are amazing! As a low-cost transmitter, it’s packed with plenty of functions and features to satisfy a beginner right through to an expert.
The radio itself can be as easy or complicated as you want to make it. There’s a great deal of support on the internet for this transmitter – you can almost guarantee that if you have a question, someone out there has already answered it on the internet. In this article, I will take you through the simple steps to convert your transmitter mode. It’s really simple and anyone can do it! You may have found yourself in a similar situation as me, I have always wanted to upgrade from my trusty Spektrum DX7 to something more modern with plenty of features. I have grown accustomed to the way the transmitter feels and operates so I’m somewhat apprehensive about moving on to a new transmitter.
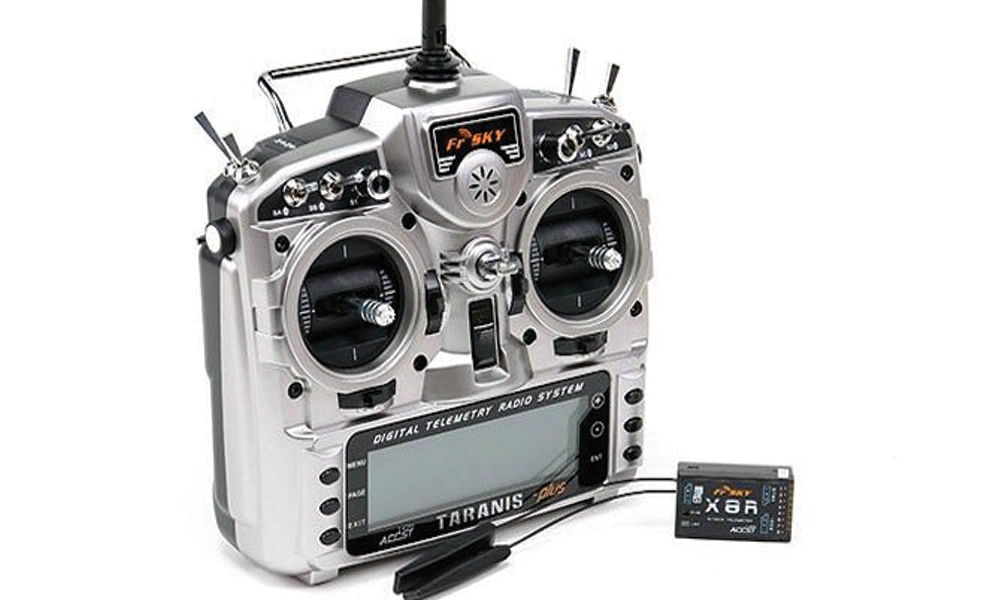
After doing some basic research, I came to the conclusion that the FrSky Taranis X9D was the radio for me. Paced with features and flexibility, the radio offers more than I could hope for. Finally, a bargain comes up that seems too good to be true. A second-hand transmitter and receivers that have been well looked after. The only problem is … it’s the wrong mode! However, in fact, it’s not a problem at all! By following some simple steps, you can not only change the mode of your transmitter, but you can also change how it feels! My Spektrum DX7 served me reliably for 10 years! I loved the way the gimbals felt. So I wanted to make sure that the new radio felt the same way! Here’s what I did:
Remove the transmitter battery and screws to the rear cover
Make sure you pay close attention to the switches on the radio:
- Flip all switches to the start-up position (the same as you do to remove the switch warning)
- Slightly loosen (SE) and (SG) switches (don’t remove the switches! Just loosen them)
- Apply some sticky tape to the (SE) and (SG) switches sticking them to the rear half of the housing
- Tape the sliders on the side of the transmitter to the front of the housing

Remove the rear cover
- Gently pry the two halves apart, paying attention to the switches to ensure they stay in position attached to the transmitter.
- Now that you have two halves apart, carefully open the transmitter flipping the rear cover towards you. Be careful as there are ribbons attaching electronics together in both halves (see below).
![]()
Adjust the Gimbals
Mode 1

To convert your radio to Mode 1, follow these steps adjusting the left-hand side of the radio (front of transmitter facing away from you).
- Tighten the Spring Release Screw until the gimbal has free play.
- Loosen the Spring Tension Screw Until the gimbal has the desired spring return (gimbal should spring back to center from left/right)
- Tighten the bottom left-hand screw on the ratchet to achieve the desired resistance when throttling up and down.
- Adjust the bottom right-hand screw on the ratchet to achieve the desired feel when throttling up and down.

- Tighten the Spring tension Screw until you have the desired sprint return of the gimbal
- Loosen the Spring Release Screw until you have the desired spring return of the gimbal
- Loosen the top right and left Ratchet screws to achieve the desired free play of the gimbal
Mode 2
To convert your radio to Mode 2, please reverse the steps above relating to the Ratchets, Spring tension, and release screws on each side of the transmitter.
Reassemble the transmitter
The reassembly is essentially the same steps you have taken to disassemble the transmitter in reverse. Place the two halves of the transmitter back together paying close attention:
- Ensure there is a nice seam between the two halves
- Check to make sure the antenna is a nice fit
- Make sure the gimbals are not touching the housing on the inside by listening closely while moving each gimbal
- Tighten both halves of the housing with the 6 screws
- Tighten the (SG) and (SE) switches
- Re-install the transmitter battery and attach the battery cover
Change Transmitter Settings
The final step is to change the mode in the transmitter settings. This is really simple.
- Push and hold the Menu button

- Press the “+” button once to go directly to the mode setting
- Press the “Enter” button to select the mode setting

- Press the “+” button to select the desired mode
- Press the “Enter” button to save the desired mode selection
Written by Thomas
Hear it First: Join our Mailing List
Sign up to receive new product updates, exclusive discounts, news, and more!