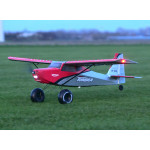
I take an in-depth look at the Avios Grand Tundra, the older and wiser big brother of the Durafly Tundra. I have had my eye on the grand tundra since it was first discussed around a year ago. I have desperately wanted to get my hands on the Grant Tundra and of course, all the stars aligned when Stephen from AVIOS offered to send me one to review.
It seems like forever before the courier finally rang the doorbell and the Grand Tundra was finally here. I really wanted to grab the courier and give him a big kiss and I’m sure he had no idea why I was so excited and why I had trouble signing his little PDA delivery thingy. The first thing I noticed was the box arrived undamaged and this was because the item was double boxed and cocooned in a foam shell. The model comes well packed and they leave nothing to chance. All pieces are wrapped in foam sheeting and then placed into a protective Styrofoam box. Other smaller pieces like screws, tail wheels are and control roads are packed in clear plastic bags and then wrapped in foam sheet so that those parts do not damage the model whilst is being shipped halfway around this blue planet we all call home.
 I removed all pieces from the box and laid them out on the table. I also checked all-foam wrap sheets to make sure that nothing was taped to those sheets before I discarded them. I didn’t find anything attached but it’s caught me out on models before. On the positive, I didn’t find any blemishes or dents in the model so I was pleased. Let’s face it, foam is soft and it’s likely that there will be the odd little ding or compression mark.
I started by adding the elevator halves and the carbon rod into the fuselage and securing with the provided screws on either side. You will also need to insert one screw into the back of the elevator halves to stop them from separating. The next step is to install the rudder, which is very simple. One screw at the base secures the rudder into place. You can now install the tail wheel and fit the springs from the rudder to the tail wheel. Insert and secure the control rods to the elevator and the rudder before moving onto the next part of the build.
Start by unpacking the wing struts don’t miss the little screws that are sealed with the supports as these are required to join the struts together. Take note of the sides as they are marked L and R on the plastic ends of the support. Bring these two parts together and install these into the wings with the split pins provided. Install a receiver at this point and you may be wondering why? I do this so I can center the ailerons and flaps before installing the control rods.
So let’s talk about radios. You could fly the GT 4ch radio if you absolutely had to but you would have no reverse or flaps. You could run the lights from a y-lead off another channel but if we want to get the most from the plane we really need a 6ch at a minimum. I like the Taranis, however, a Turnigy 9x or an Orange tx6i. Install your receiver and bind to your radio and proceed to set up the radio as per manual.
 Install the carbon spars into the top of the fuselage and begin to fit the wings. You can screw in the 3mm screws if you like or just secure the wings with the struts and the split pin. Connect the battery and power the aircraft so that the servos center which will allow you to install the control arms in the central position. Don’t install the prop as that is the last thing we do. A 5x4 will give you a nasty cut but a 16x8 is a different animal that is far less forgiving.
Create a model within your radio and make sure your trim positions are centered. Install the ailerons, flaps, elevator, and rudder. The control rods are installed in the outmost holes of the control horns and ensure that your control surfaces move freely before moving on.
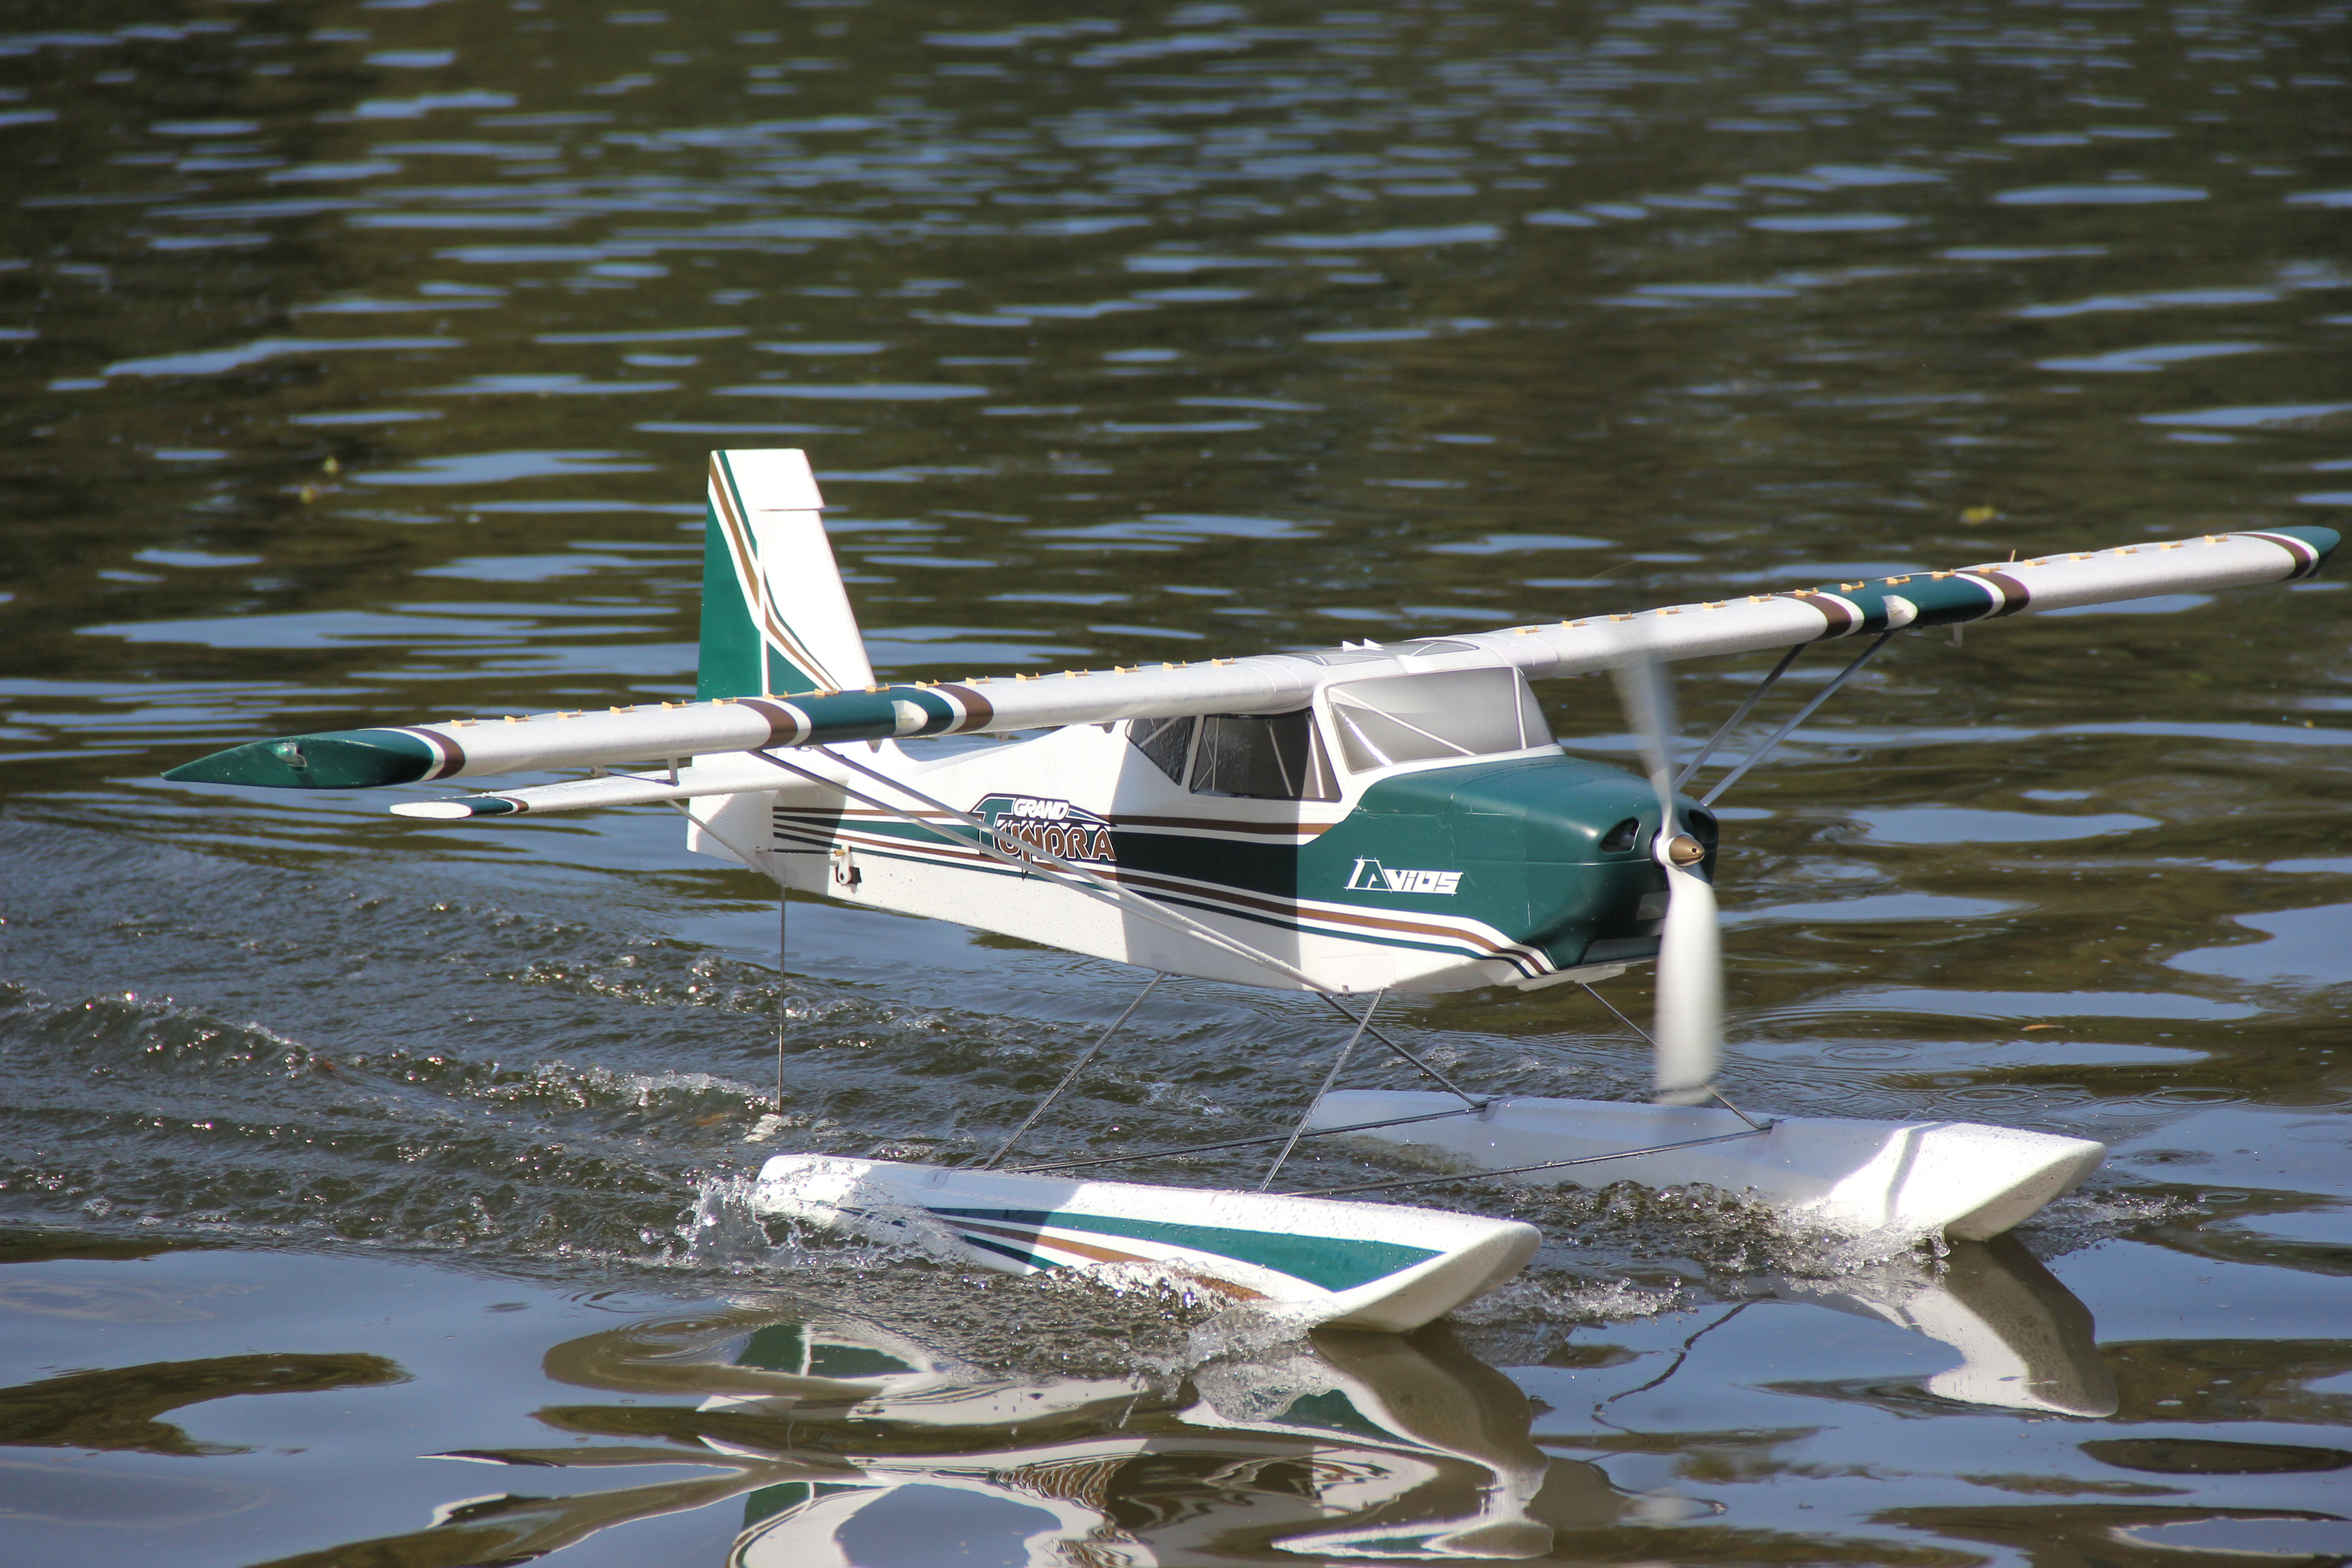
Next are the wheels and articulated landing gear so begin to install those as per the manual. These are seriously well built and I found them to be very solid. I had a low voltage cut off as I was having way too much fun and forget to check the telemetry. It gave me a chance to see what the glide rate was like and there were surprises here as it handled a lot like the classic tundra. I did land heavily on the gear and the gear did what is as meant to by absorbing the impact of the landing. The floats are very easy to install and they perform so well out on the water. No need to deviate from what is in the manual. Landing and taking off were uneventful and could be performed by anyone who is competent enough to be able to land the classic tundra. The floats are installed and are ready to go.
I ran quite a few packs through the Grand Tundra so I could get a better feel of what would feel the most comfortable. 4S 4000-5000 was fine and flew really well and I also ran 6s 4000-5000mah packs and whilst the model flew fine with the 5000 it was noticeably heavier than the 6s 4000. It was not as aerobatic and stall speed was a little higher than with the smaller capacity packs. That said I’d still fly with the 6S 5000 depending on what I wanted to do. Many may be very comfortable flying with a heavier pack. The model flew very well and is an easy flier. Takeoff and landing are uneventful with no adverse tendencies. It has a wide flight envelope and will do just about anything you ask of it.
Taking off
After performing your regular preflight checks and general inspection for airworthiness start taxiing out to the stip. make sure your CG is correct before you get into the air. You might have a very short flight if you miss this step. You can feed in throttle either slowly or fast in the GT as it will handle either. The model will taxi straight and I didn’t notice any torque roll during takeoff. I did have a light crosswind and I used a little rudder to offset the yaw. Once at takeoff speed just pull back on the elevator and the grand tundra will rotate with ease. There is nothing to report about the flying characteristics.
Landing
Landing is reasonably simple with the GT. Start by reducing throttle and deploying flaps. No more than 35% is required to slow the aircraft down. You can easily land without flaps and I do suggest you try both. Once the aircraft is beginning to descend just add enough elevator to keep the nose up and adjust the throttle to put it into a gentle glide. If the GT is losing altitude too quickly don’t adjust the elevator but feed in a little more throttle to correct the steep descent. The landing gear is more than sufficient to hold up to some serious abuse.
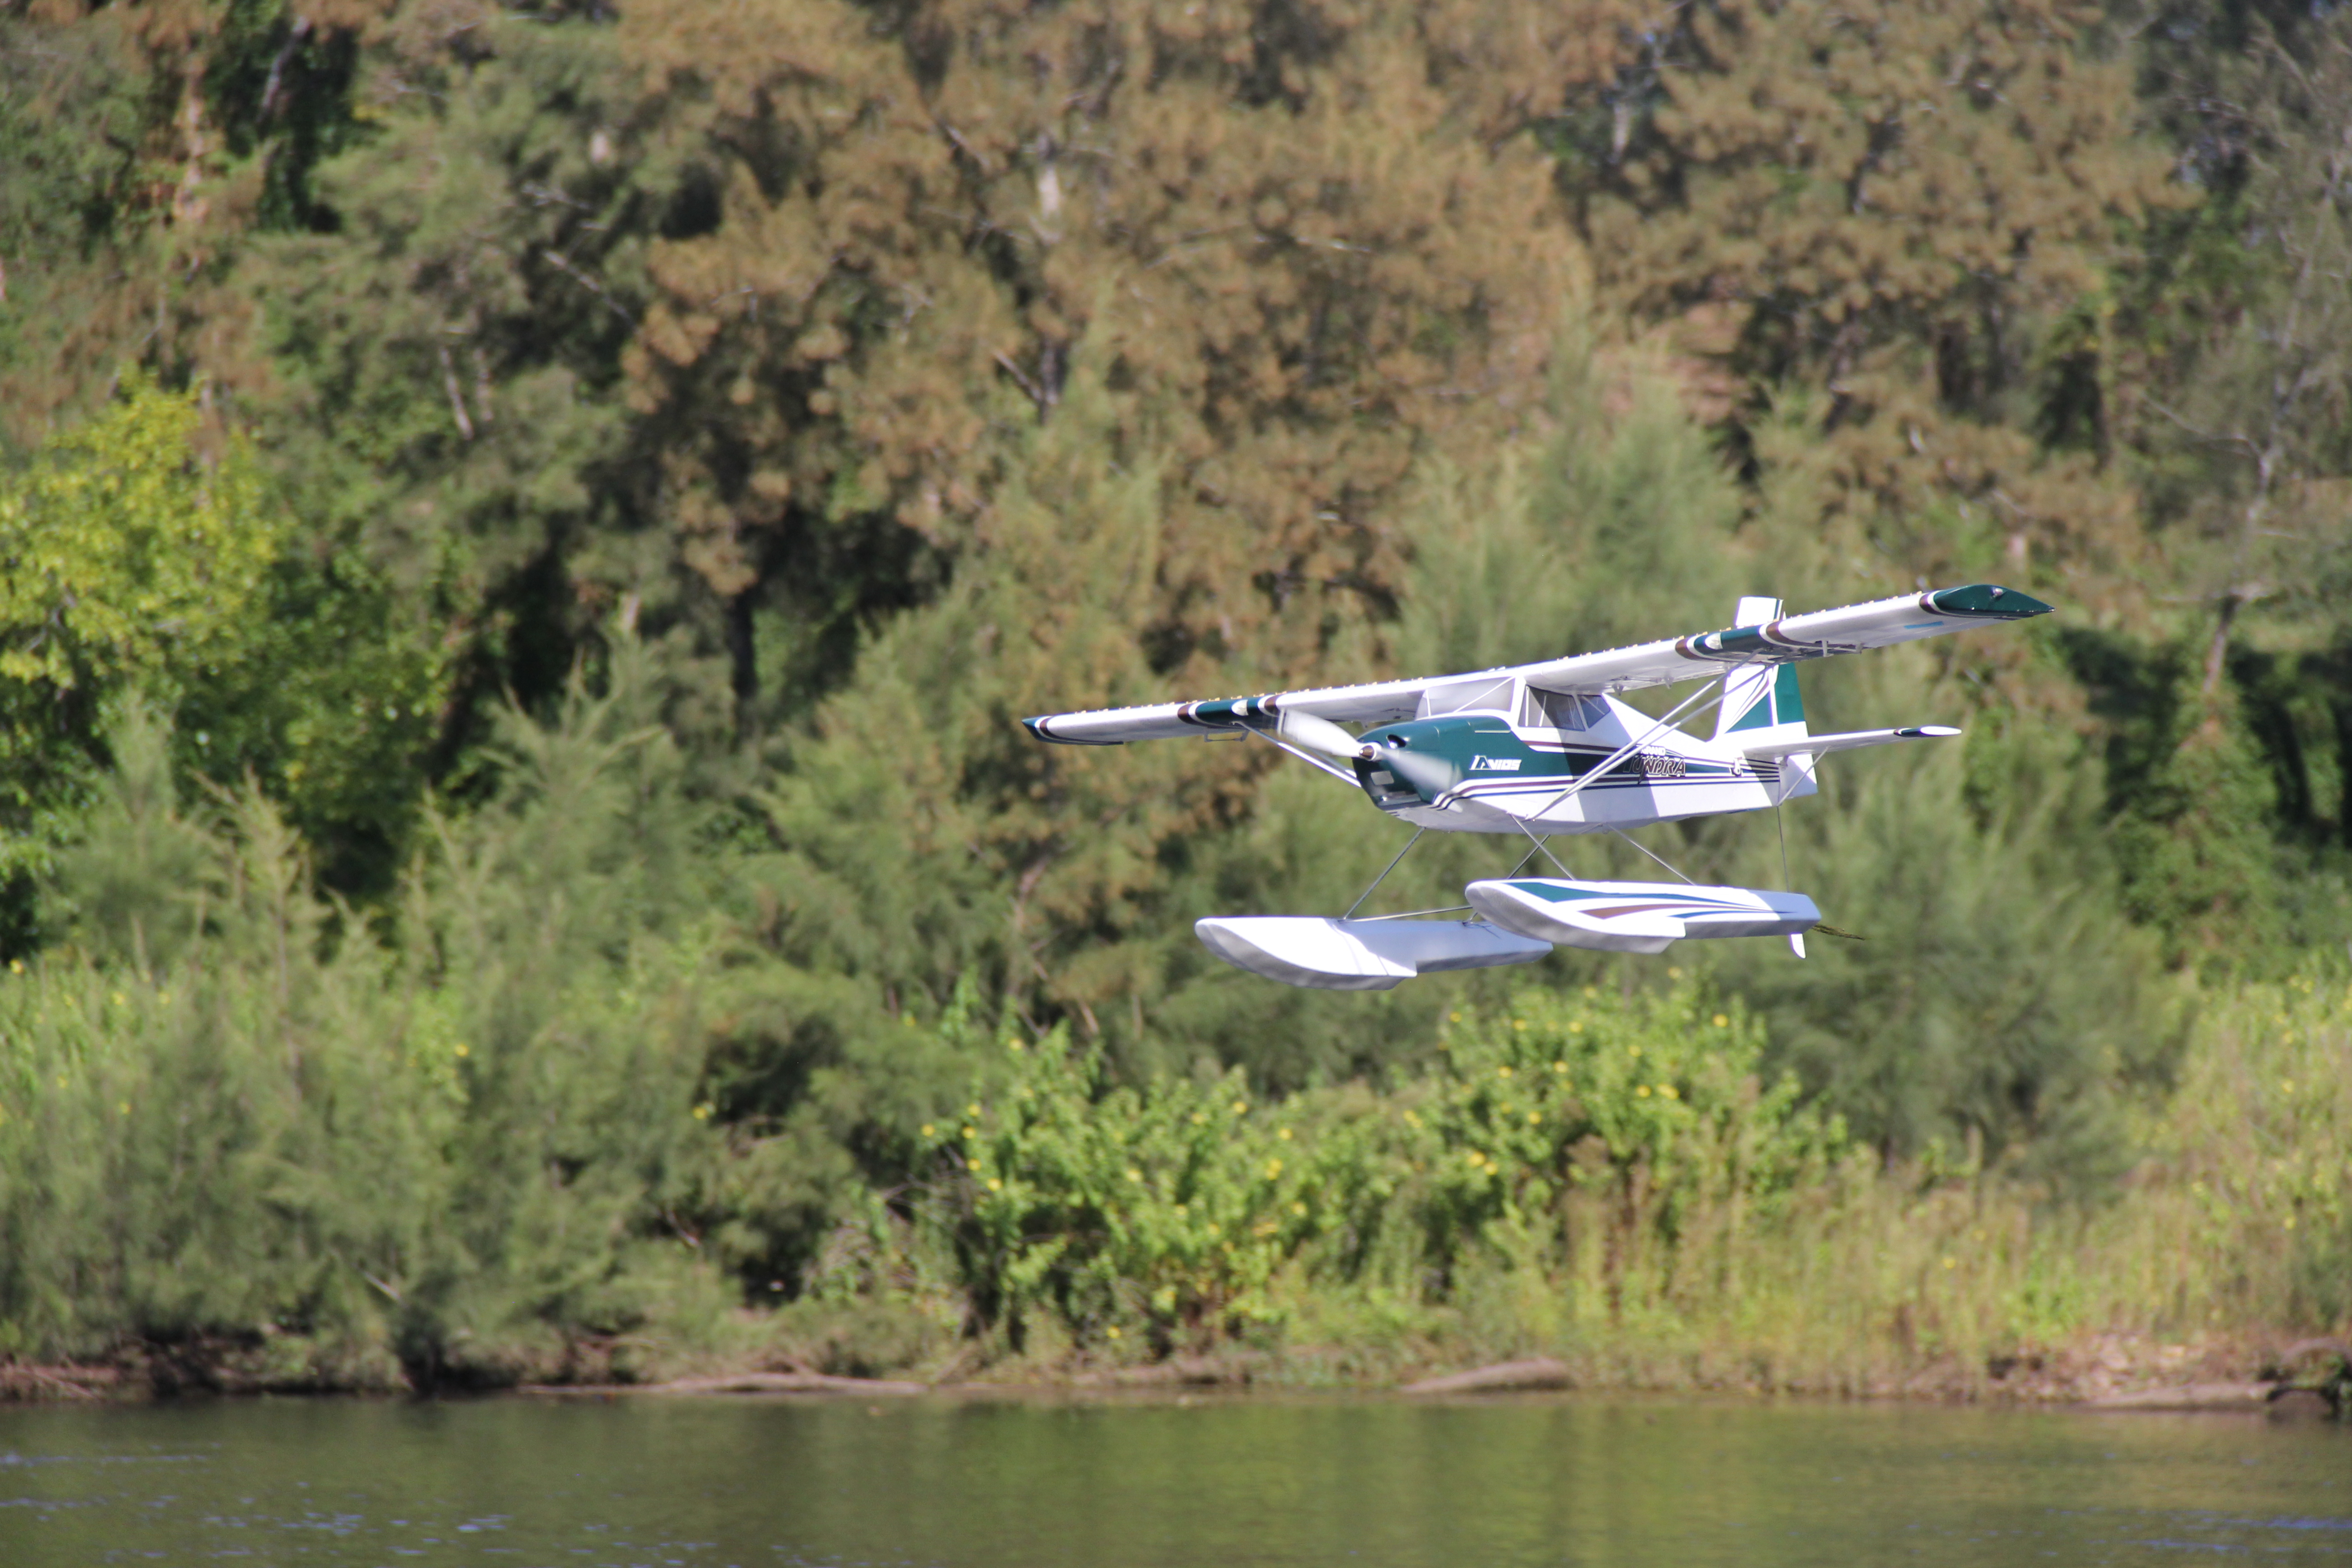
Taking off From Water
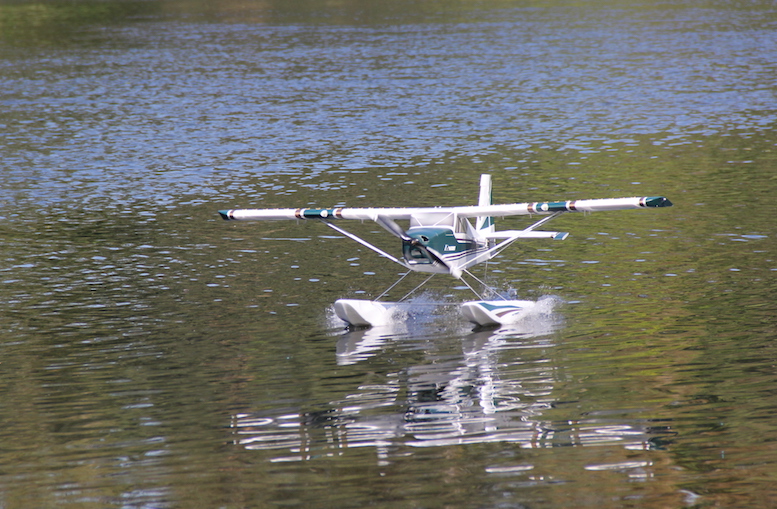 Whilst most RC planes encounter little drag when taxiing out and taking off, floatplanes encounter significantly more drag until they can overcome the drag and get up on a plain. Once airborne the drag is reduced but make no mistake this can be significant drag and noticeable as a reduction in top-end speed and the need to increase throttle more than would be normally required. The same rules apply when taking off. You must take off and land into the wind. On the water, you can land and take off just about anywhere.
If the water is a little choppy you might need to take off parallel with the waves and this may mean doing a crosswind takeoff. Although not preferable it may be easier than heading into the chop. When taking off, hold in up elevator as this holds the nose of the airplane up and helps prevent the floats from digging into the water. As the speed of the aircraft increases, reduce up elevator slightly and let the plane gently skim the chop. Once at speed increase up the elevator and allow the plane to gently lift off the water and into the sky.
Landing
Landing the Grand Tundra on the water is much like land although if you have a bad landing you have to go for a swim. To successfully land you should land parallel to any chop and not perpendicular to them. This minimizes the chance of floats digging into a wave and flipping it over. This means you may have to land in crosswind conditions.
When landing is sure to have your flaps deployed about halfway and pilot your plane flare just about the water reducing throttle further so that you hit the water as slowly as possible. As is with all seaplanes or floatplanes, bleed off as much speed as possible before touching down. Be careful not to stall over water unless you want to go for a swim.
Note: Before you try and land or take off on the water you need to master ground landings first.
Features:
- Wide flight envelope for stability
- 90-degree flaps for short takeoff and landing
- Quality metal gear servos and ball-linked control rods
- Large soft Tundra wheels with actuating suspension
- Wing vortexes
- Cockpit tray for FPV cameras
- Navigational and landing lights
- Available in two schemes - Blue & Silver and Green & Gold
- Glider tow point
- Generous battery bay
- Optional Floats and Skis
| Specs | |
|---|---|
| Wingspan: | 1700mm (66.9") |
| Length | 1260mm (49.6") |
| Motor | SK3 5045 500kV |
| ESC | Aerostar 60A RVS Reversing ESC |
| Propeller | 17x8 for 4S battery OR 16x8 for 6S battery |
| Battery | 4-6S 4000mah |
| Servo | 4 x 9g |
| Pros vs. Cons | |
|---|---|
|
Pros
|
Cons
|
It's clear to see that the pros definitely outweigh the cons. Despite, the single con on the list is hardly a deal-breaker, it just would have been preferred if they were more like the ones on the classic tundra.
In Summary
A great flying airplane that was 100% worth the wait. HobbyKing has continually lifted the game with its aircraft lines and this cements Avios place amongst the true greats. RC float planes are a lot of fun and great to take on the summer camping trip. You can fly from snow, fresh, or if you have to saltwater however you want to make sure that everything is protected from the harshness of the elements. There really is no limit to float planes and I hope this is something you give a go soon.