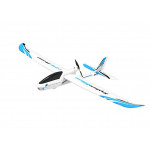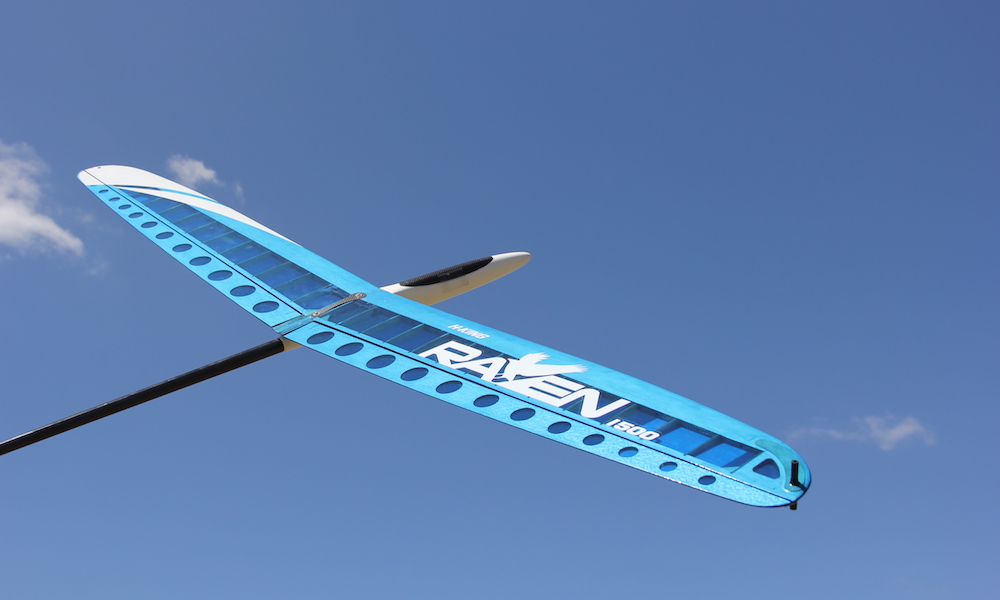
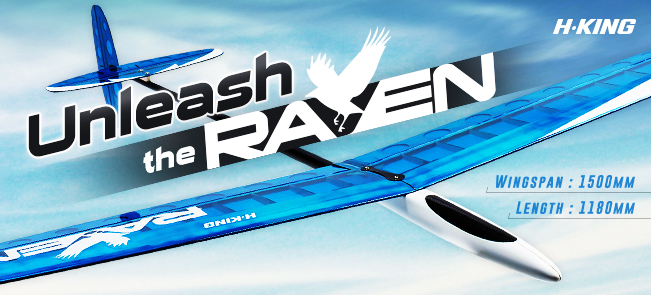
In this article, I will go through the steps that you need to take to perfect your first flight with HobbyKing’s Raven 1500mm Discus Launch and most importantly show you the steps that you need to follow so that you don't crash during your flight.
The most important advice I've been given is not to rush! Take your time, make sure everything is right, and don’t get too confident or ahead of yourself because that is ultimately how mistakes happen. HobbyKing’s Raven is a Discus Launch Glider (DLG). Unlike flying other planes, flying a discus launch glider is more an art form and takes more skill but it’s definitely worth the effort. It’s a lightweight plane that weighs in at only 290 grams with all the mechanics and electronics inside. This is important to note when it comes to hand launching the plane to understand how much force is needed.
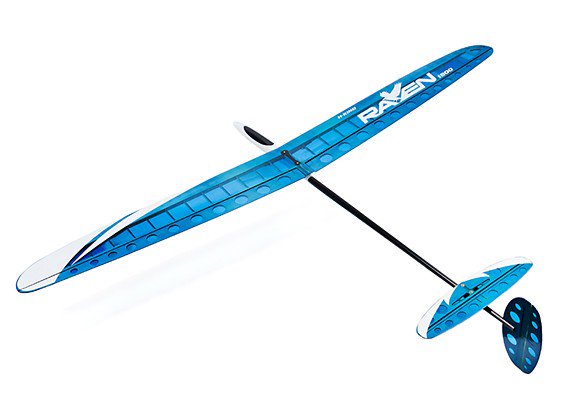
Step 1. Assembling the Plane
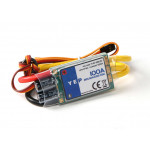
 It’s a very easy model to build and can be done relatively quickly within approximately 30 minutes. The model is already put together, for the most part, with the main body already assembled. From here, basically, all you need to do is attach the tail, which is held together by a couple of screws. The main wing comes as one piece so all you need to do now is attach the wing to the top of the body. This model has three servos that need to be attached underneath and the servo cables go up the top. What is particularly great about this new Raven DLG is that you can configure this model for either a left or right launch in the installing phase. When installing the carbon tube, make sure to select either the left or right side to place, depending on your personal preferences in hand launching it.
Step 2. PRACTICE, PRACTICE, PRACTICE
I cannot stress this enough. I know that exciting feeling you get when opening a new HobbyKing package and having it assembled it so quickly and ready to fly in no time BUT practice is crucial to the success of your maiden flight. It is also vital in making sure you don’t crash and damage your flawless new plane. A topic that has been previously mentioned and discussed on our HobbyKing News page has been the use of flight simulators. The purpose of flight simulators is to help pilots practice before their maiden flight, regardless of their skill level. This is important for most pilots because it helps develop your coordination skills and assists you in getting used to the feel of the transmitter. It is also helpful for seeing what’s like to fly in different weather conditions. It is important to note that regardless of the number of times you practiced in different weather conditions, for your first flight, the right weather conditions are essential. Ultimately, you need to remember, practice makes perfect. So if you want to perfect your first flight - KEEP PRACTICING!
Step 3. Tick off your safety checklist
- Have you practiced enough?
- Are you confident enough in your flying skills?
- Are the weather conditions right?
- Is your glider assembled correctly and are all parts tightly secured and fastened?
- To ensure there is nothing wrong with your model, throw it into the wind to check.
Step 4. Launch
 As the title of the product suggests, the HobbyKing Raven 1500mm is a discus launch glider (DLG), which means that it will be a discus launch (obviously!). You can practice this a few times but because the Raven is so lightweight and durable it makes launching a lot easier. This technique will remain the same regardless of whether you launch this model from either your left or right-hand side. So to begin your discus launch you must hold onto that carbon tube that was mentioned earlier as this will be used to launch. Remember not to grip it too tightly as you will need to let it go easily in order to launch. Then what you will need to do is spin around and then twist your torso slightly while putting either your left or right foot forward (depending on which side you want to launch from).
In order to have a smooth launch, it is important to keep your balance in this step. Now throw the glider with force, just as you would a discus, however, make sure you don’t bend your arm. This step is all about technique, so you may also need to practice this a few times. While you are turning your body make sure you use your transmitter by pressing the launch mode to give you as much power as possible for your launch. Now that you are in the air, happy flying. Think you’re a pro at launching/flying DLG? Feel free to share your pointers in the comment box below.

Written by Rebecca
Hear it First: Join our Mailing List
Sign up to receive new product updates, exclusive discounts, news, and more!