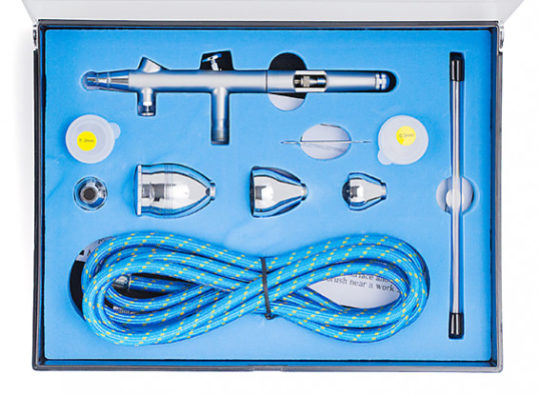
If you've read my previous articles you'll know I'm a fan of airbrushes for painting models but it's not always practical for various reasons, which is why I might suggest using a brush.
The job or the budget might just not stretch that far so before throwing your hands up in the air there are many ways to skin a cat. The paint finish is very important because even a poorly made model, painted well looks good. A poorly painted but well-constructed model looks awful. So get it right because you'll regret it otherwise. You may have only need modeling for a while but it's something you will have to master and it is possible to master. In this article, we cover the alternatives to airbrushing models. Before we get started Now is a good time to check the workshop for all the bits and pieces you'll need:
- Fine, good quality brushes
- Thinners or Water depending on the paint used
- Small paint cups
- Dishwashing Liquid
- Surgical Examination Gloves
- Good quality model paint
- Patience
Safety Matters
Painting with a brush is not as hazardous as spraying or airbrushing, however, ventilation is important. Solvents and paint ingredients are hazardous as well as being flammable. Good ventilation is strongly advised and if you can exhaust air close to the paint air this would be perfect. Gloves are great for keeping your fingers clean and free from hazardous paint along with other chemicals and materials.
Starting Out
Take your time and organize everything so that it is at hand before you start. Careful preparation now will yield good results and avoid disappointment. Regardless of what you're working on the model needs to prepared well so that the end result exceeds your expectations.
Preparing the Model
Clean the surface with a detergent and be sure to scrub every surface and allow it to dry. If you're not sure that it's clean enough wash it again after drying. Key the surface so that the paint will adhere properly. This involved gentle abrasion on the surface. For example on metal, a fine wet and dry can be used to add a very fine texture to the surface. 2000-1800 wet and dry with water and detergent. For plastic, a scotch bright pad should be enough to gently abrade the surface. Metals, especially white metal and brass need special attention. It is highly advisable to abrade the surfaces, however, be very careful with the more delicate parts. Brass must have an etch primer applied before you paint the surface.
Do not paint your model if the temperature or humidity is too high. Humidity will affect the way the paint cures and temperature can cause the paint to skin trapping wet paint below the surface that will take days to cure. This is especially true of enamel paints. The paint will not cover blemishes. Rather quite the opposite. It will expose them and highlight imperfections so attend to those before moving on.
Work Area
If you want a good finish the area must be dust-free. Hardware stores have clear plastic drop sheets that are used for covering furniture during painting. These make for excellent work areas as they can be erected quickly and easily to stop dust and other particles from settling on wet paint. You will also be less likely to paint onto anything else. Let's face it, no matter how careful we are we always spill paint on something. If the area is cold then be sure to warm it. The paint will take a long time to dry if it's cold and it will dry too quickly if it's hot. 25deg with low humidity is perfect.
Applying Primer
The unpainted surfaces should first be primed using an aerosol spray can that closest resembles that of the final color. For example, if you apply a dark primer then wanted to paint a white final the dark color would tint the final white. For the same reason, a red oxide primer would be an equally poor choice for a white finish. A light grey or white primer is the correct choice. Primer is only used to provide a good bond between the job and the paint. The primer will not hide imperfections so apply thin coats and allow drying between reapplication. Follow the manufacturer's recommendations and don't mix brands if you can avoid it. Do not under any circumstances applying thick coats to hind imperfections as it is a recipe for disaster. If you do apply primer and then find imperfections you will need to remove the primer in the areas that need to be corrected before filling. You cannot fill over primer.
Brush Painting Models
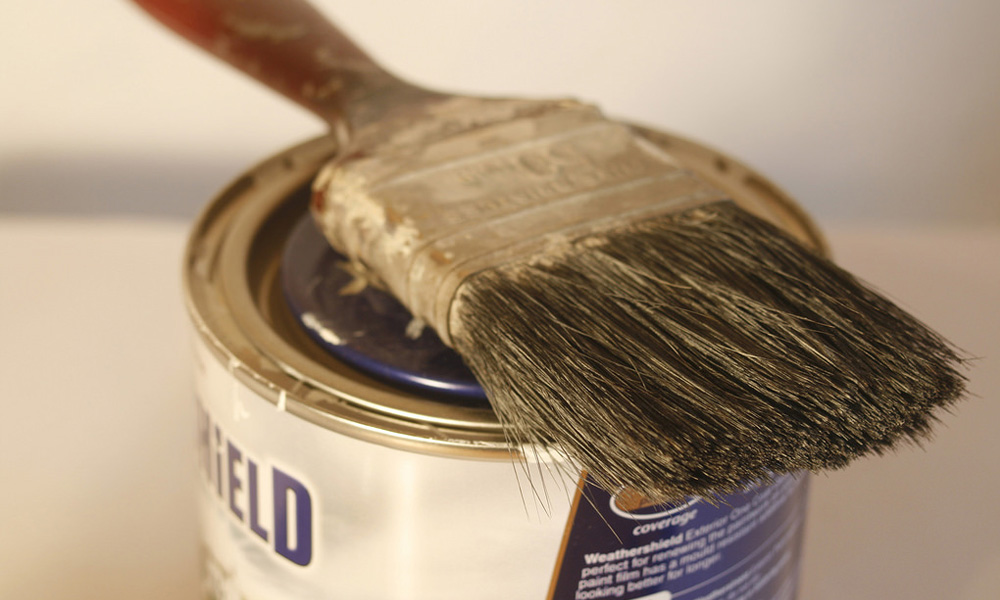
My preference is always to use an airbrush as it gives an excellent finish even in the hands of a novice, however, depending on what you're painting you may feel that a brush is more appropriate. A good finish can still be attained with a brush and many people have won awards with models that have been painted with a brush. A lot more people have won awards for models that have been painted with an airbrush but each to their own. Greater care is required to achieve a good finish and although you may be thinking that an airbrush is a great expense so are good brushed.
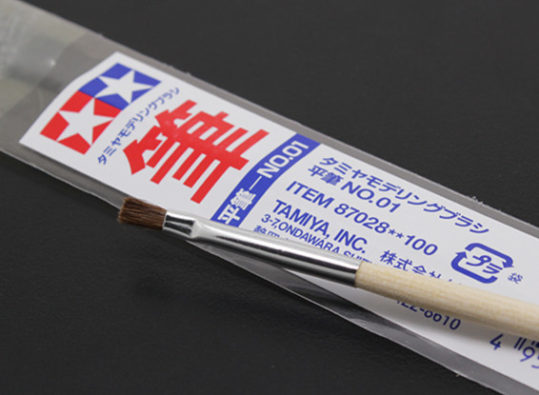
Select paints designed for models as they are specially formulated for models. When a company formulates house paint they are not concerned with the thickness of pigments or how the paint will flow over a model. They have formulated the paint to cover a wall. Model paints are expensive but they are specially formulated for model use. Avoid adding alcohol to paint to thin as it can cause the paint to coagulate into thick blobs. Alcohol is hygroscopic meaning that it has a tendency to pull water from the air but in this case the paint. If you're unsure of the age of the paint or the condition I suggest you test it prior to application. If the paint has separated with thick solids at the bottom set it aside for something else. Ensure the paint is at its prime or you'll be bitterly disappointed. Brushes, buy the best brushes you can afford with fine soft bristles.
The thicker the bristle the thicker the brush strokes on the model. If you need to thin the paint use the recommended thinners and do so sparingly. I do like to add a tiny amount of dishwashing liquid to the thinners in a small cup. Just one or two drops for water-based paints. This helps to break the surface tension of the paint. Mineral turpentine is fine for enamels but be sure to mix well and add slowly. This helps the paint flow and allows it to be applied thinner. Be careful as turpentine can dissolve some plastics and can dissolve some paints if it is applied to tacky paint or too heavily.
Apply many thin coats for the best results. Build up the coats rather than trying to paint once or twice. Many thin coats will result in deep color and a good finish. Use a small brush and take your time. First horizontal strokes then vertical to ensure proper coverage and move on. Don't brush over paint that is drying again. If you end up with running paint you're doing it wrong. You're applying way too much paint in one go or you have thinned your paint too much or a combination of both. Wipe it off and start again. Clean your brushes as soon as your finished painting. Try the brush and store it in a plastic bag so that it does not collect debris.
Aerosol Spray Cans
If you're considering spray cans then can I suggest you consider an airbrush. Aerosol cans have their place, for instance painting the body of a car but not on fine models. You'll get a much better finish with an airbrush.
Drying and Handling
The area must be free from dust for the entire painting process. This may mean that your work area may be sealed off for a week or more depending on what you're painting. If you're painting enamels they may take 24 hours to cure before the next coat can be applied. Complete whole areas at the same time to ensure there are no distractions like phones ringing or other errands that might get in the way. Never touch the model to see if it has dried. Paint a test piece from cut-offs or scraps and paint these. When the paint is properly dried you can continue on. If in doubt simply wait. It can be tough waiting but you'll soon have all the time in the world to look at you're model when the job is done right.
Once the paint is dried it is still soft. Enamel paint may not reach full hardness for a few weeks so leave it alone and resist the urge to handle the piece. Water-based paints are pretty much fine to handle after 24 hours provided the weather is warm and humidity low. Remember that high humidity slows the drying time because the atmosphere is already saturated with water. This means that water is not pulled from the paint. Dehumidifiers or air dryers are perfect for drying the air in a room and if you have the piece In a closed-off work area a dehumidifier will work wonders.
Storing Brushes
Consider a brush as a tool. If you want the best from the tool you're going to have to look after it unless you want to keep replacing them. Good brushes are not cheap and if you look after them you get years of good service from them. If you leave them in a box or shelf collecting dust you regret it. Resist the urge to use the brush for anything other than painting fine models. Label your brushes with Oil or water and never use them for anything but what they were previously used. When cleaning a brush don't pour a large number of thinners into a large cup and dip the brush in. Use a very small cup filled with a little thinner and dip the brush so that it soaks up thinners.
Using a clean white paper towel start wipe the paint thinners onto the towel. Don't use things like newspapers as you will pick up the ink. Continue this process until the brush is free of paint. Be sure not to damage the brush in the process by heavily stroking. Once now more paint comes off the brush you can empty the little cup and refill. You can leave the brush in the little cup so see if any more paint is drawn from the brush. Repeat the white towel exercise and once no more paint is drawn from the brush it can be allowed to dry before being put away in a clean area for storage. Acrylic paint is a little easier to remove and can be washed under a tap using the same process with the white paper towel. Be careful using alcohol to clean the brush as it can cause the paint to coagulate and this makes the task much more difficult. If you make this mistake quickly get it underwater and the paint should dissolve again.
Applying Decals
I find decals are the hardest part of the process as they make or break a model. Take your time and practice on test pieces. Once you have applied for the transfer and it has completely cured a fixing agent should be applied. Follow the manufactures directions and recommendations. If using a fixing agent this dissolves the transfer onto the surface and if you've never done it before it can look as if the transfer is ruined but fear not. This is normal and you must resist the urge to touch it in any way.
Once you're happy with the transfer you really should apply a clear coat over the top. The clear coat must be the correct type for the paint you used on the model. For example, a water-based varnish would be totally inappropriate on enamel paint. The clear coat will permanently fix the transfer in place and prevent damage when handled. Waterslide decal transfers as best applied to a glossy surface to minimize the visibility of the carrier film. You can later apply a matte clear coat to dull the gloss and transfer area. Painting is an art and with practice makes perfect. Don't expect to paint an award-winning model on your first attempt. Start small and work your way up to the masterpiece. Happy Painting