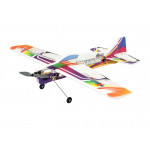
Mod Tech Monday - Durafly SlowPoke 1200mm (47.2) PNF Improvements
The Durafly SlowPoke was developed from the concept of the old Hobbyking "Retro Series" of models that looked to bring old balsa classics from years gone by to the modelers of today in the now well-established medium of EPO foam. For reasons I can no longer remember that series was dropped, but the SlowPoke project remained and has become since its release 4+ years ago one of the firm favorites of HobbyKing sports flying offerings, and with good reasons. The SlowPoke (as the name suggests) is very happy just stooging around the sky slowly making lazy circuits and touch and go. However (and especially on 4S) open her up and she becomes a sprightly and loyal sports model plus with bags of charm and charisma.
However this blog post is not intended to discuss the wonderful flying traits of the SlowPoke but rather how the model itself, with a few easy-to-do steps, can be improved in its overall fit, finish, and efficiency so let's get into it. The first thing to mention is that all these mods and tweaks are done to the model right out of the box, so before any parts are assembled so if you are reading whilst awaiting the delivery of your brand-new SlowPoke, please keep that in mind. So let's begin.
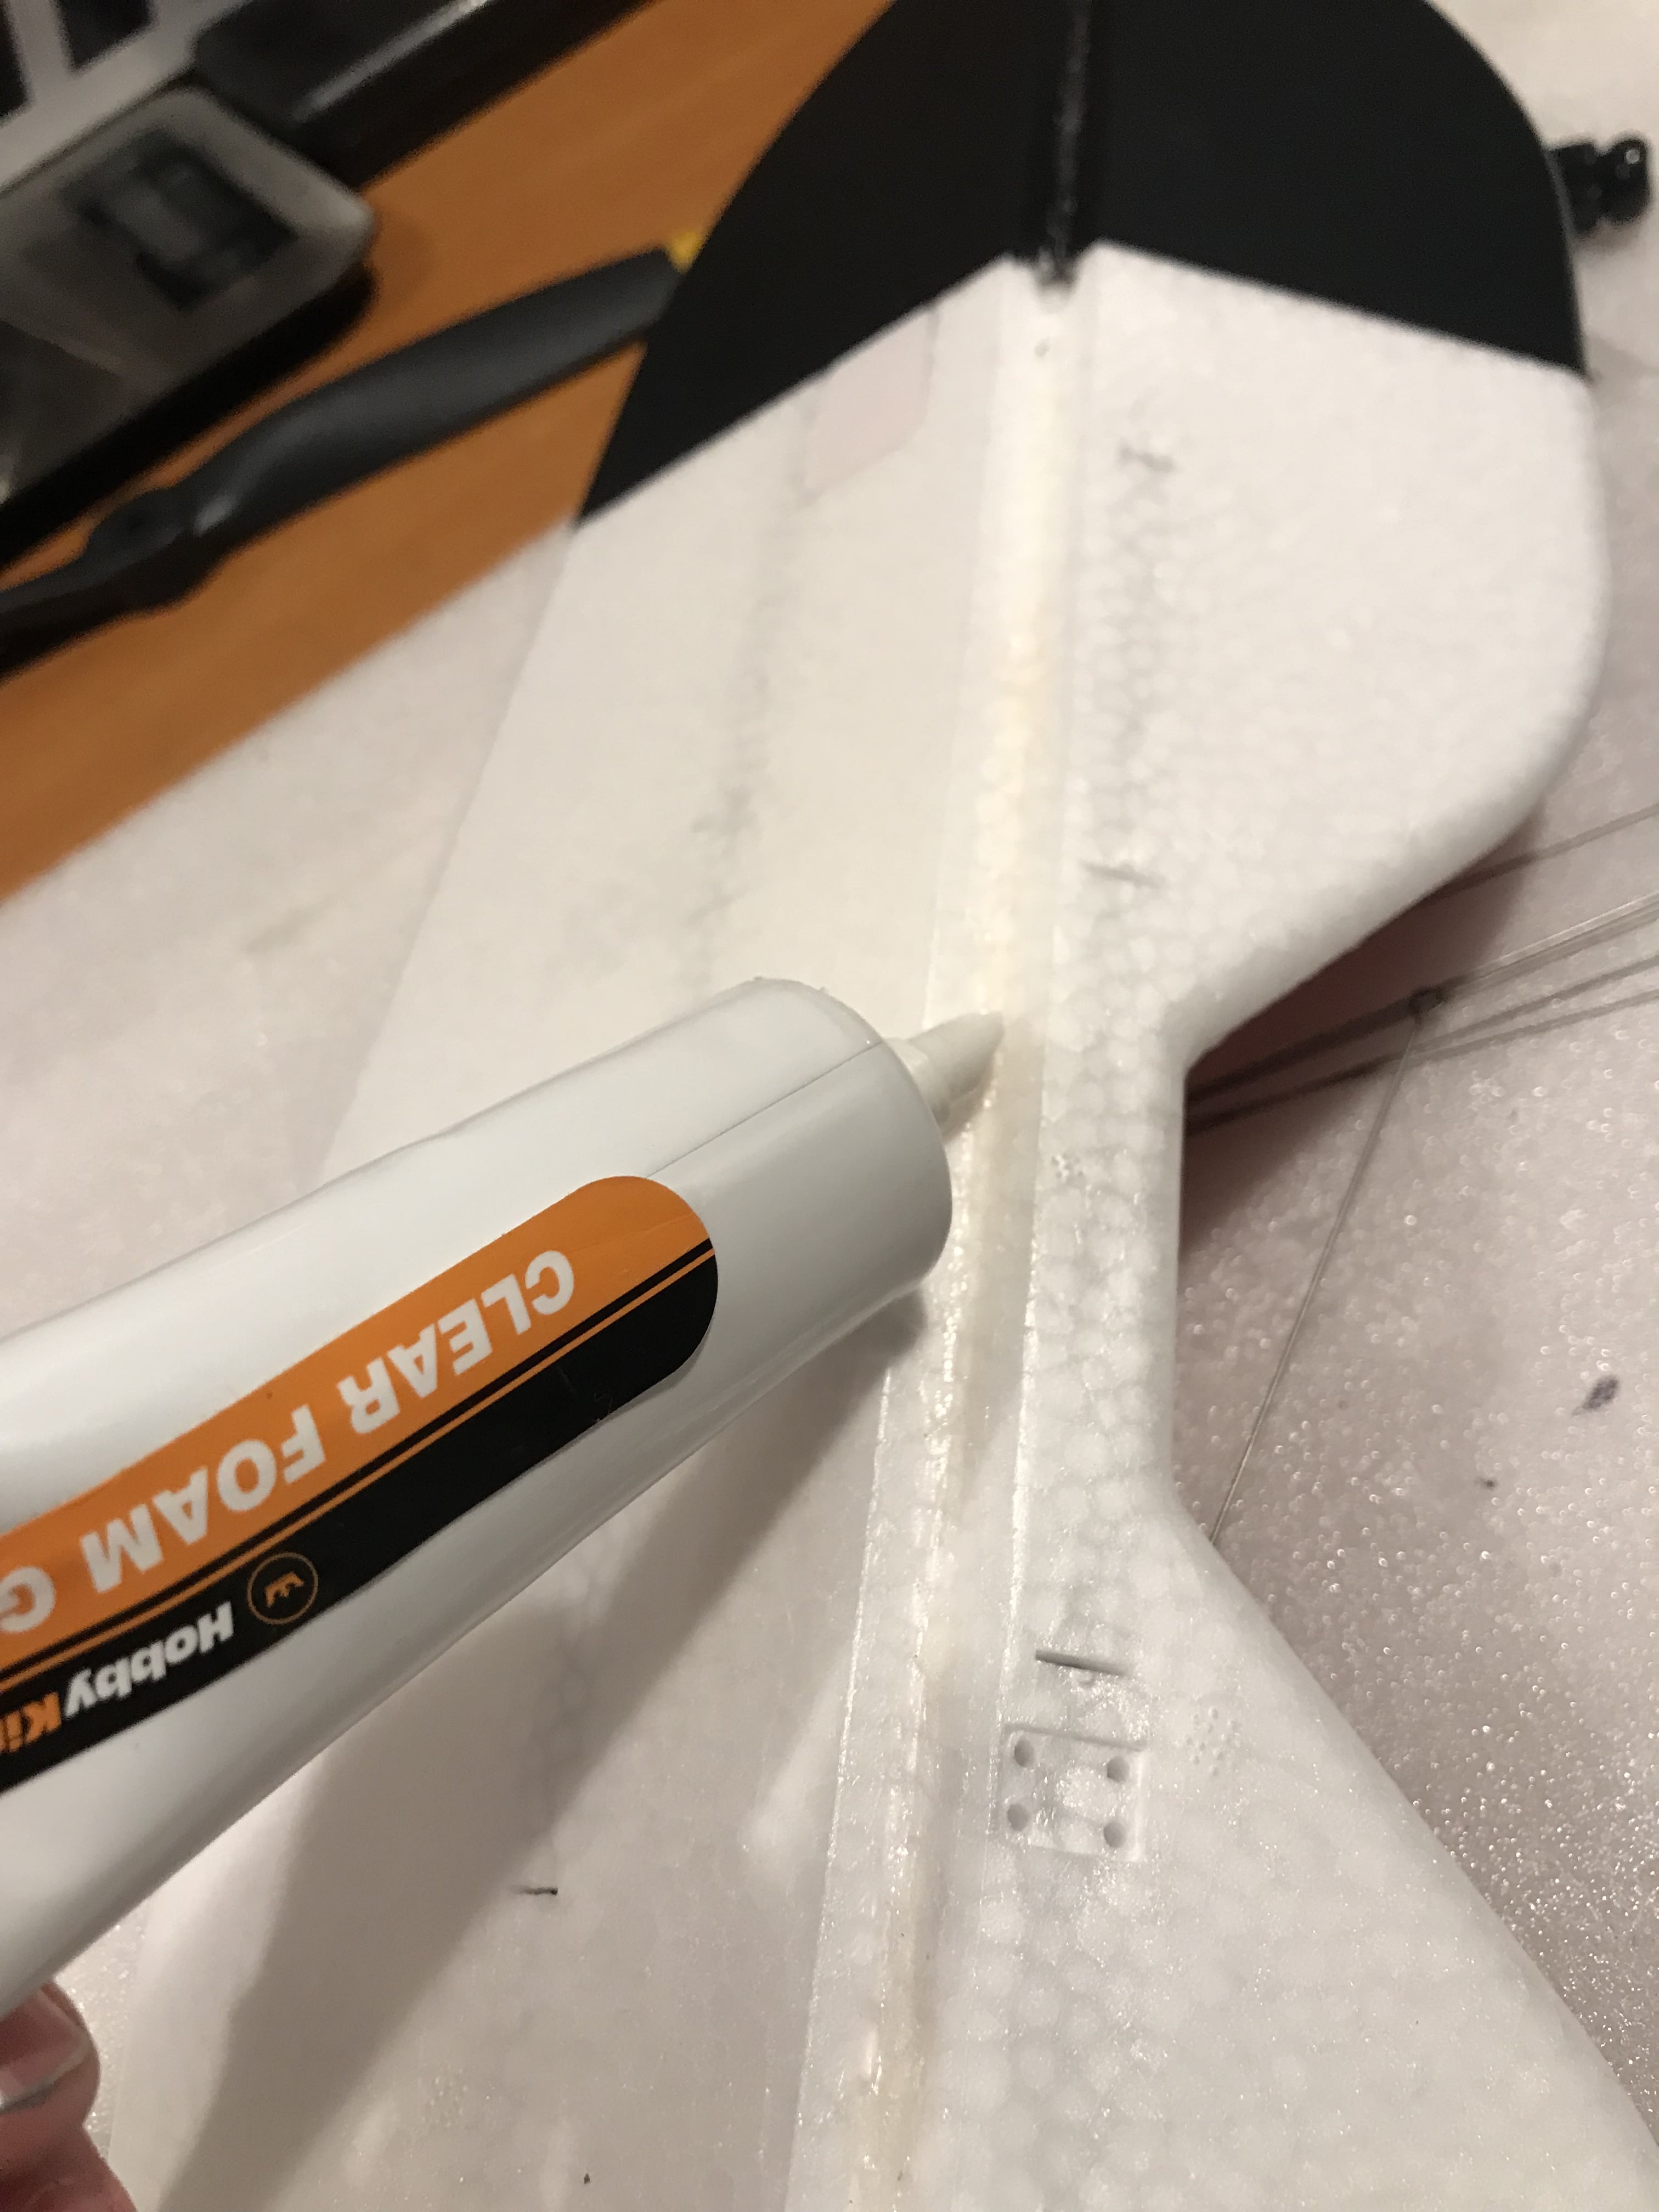
First thing you'll want to do is reinforce the foam hinge lines with some contact glue (HobbyKing's clear foam glue is perfect for this). Now, this is not a step limited only to the SlowPoke, this is actually something I do on all foam models with foam hinges as it really prevents any cracking in this hinge line over time. Holding the surface open to more expose the hinge line, run glue along the full length of the hinge and then run along with a coffee stirring stick or similar to evenly spread along the hinge. DO NOT push the control surface in the opposite direction until the glue is dried, otherwise, you'll glue your control surface leading edge to your wing trailing edge! Set aside for a few hours to dry. It's worth noting that contact/foam glue can yellow over time so I generally only apply it to the bottom surface of a hinge where it's less likely to be visible.
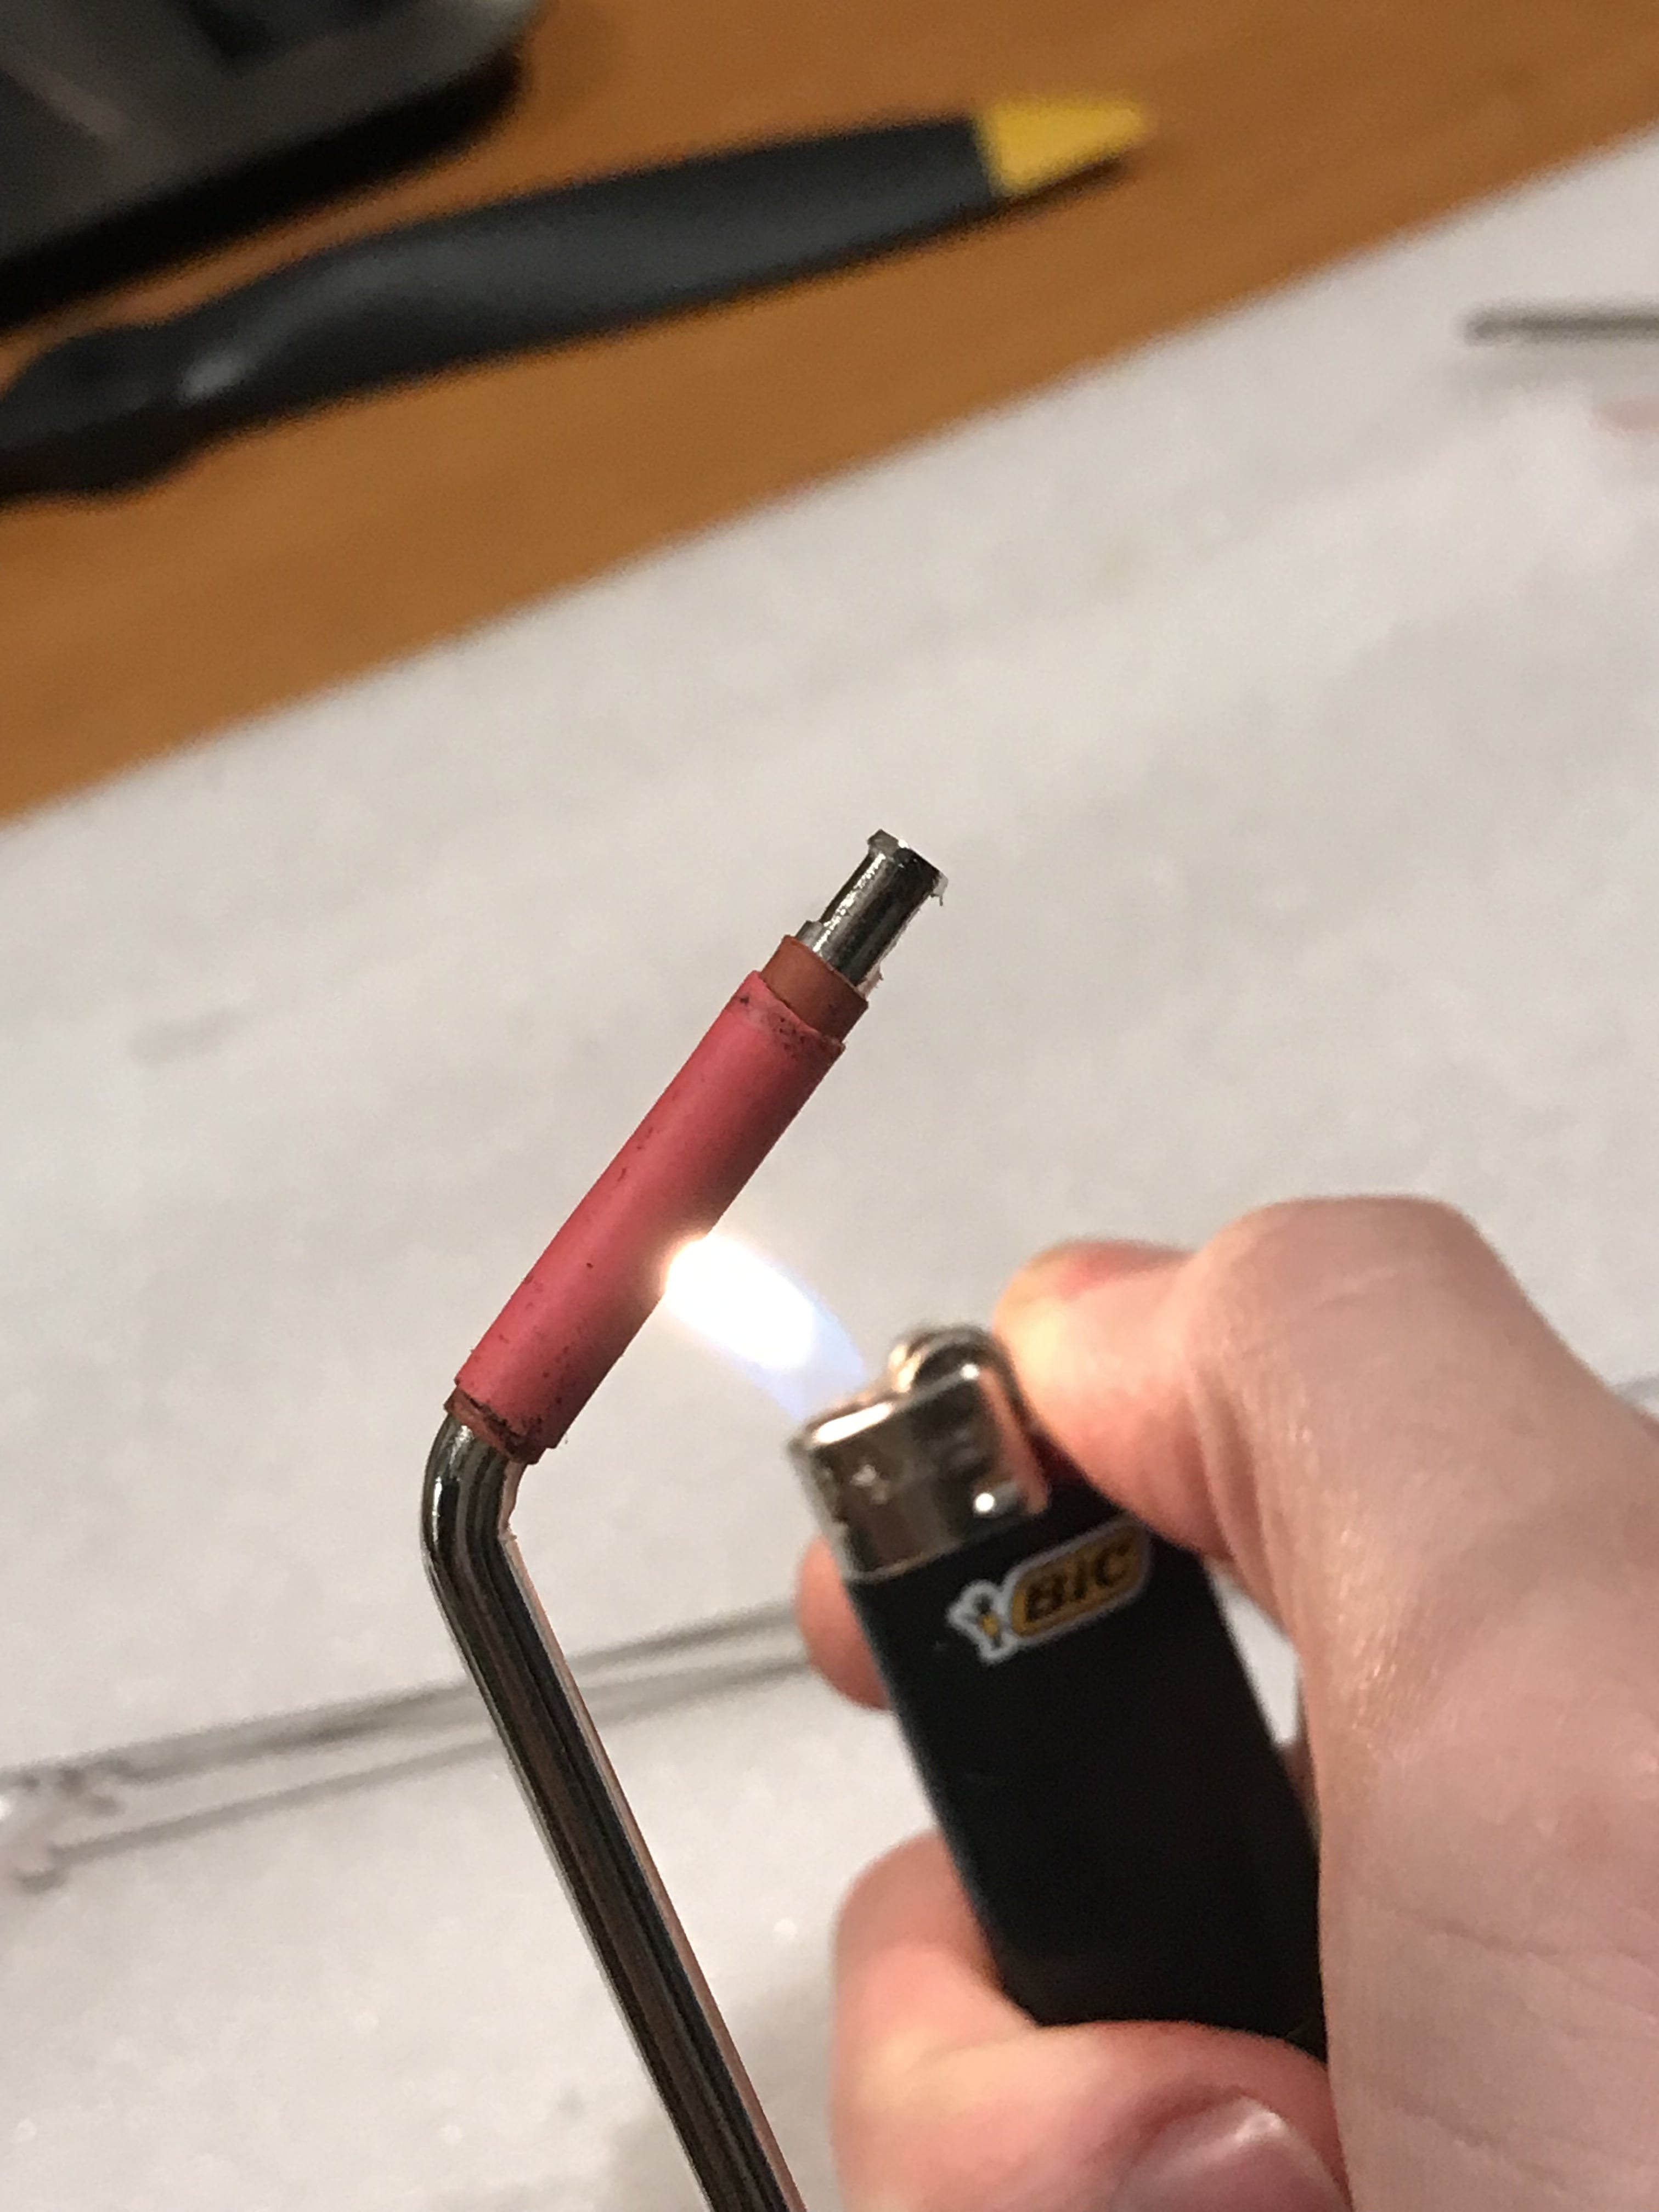
One of the most eye-catching aspects of the SlowPoke is those lovely big wheels it has however out of the box there is rather more play and slop around the axle that is ideal. This is because currently out of the box, the hole in the wheel hub is oversized compared to the landing gear axle. Happily, this is one of the quickest things to fix on the SlowPoke. Simply remove the wheels and put some suitably sized heat shrink over the axle and shrink down. Once cooled the heat shrink fills out the hole in the wheel nicely allowing for FAR improved rolling of the wheels and with virtually no play now.

Following on along a similar thought process, the tail wheel too suffers from a similar issue although in its case it's lateral play. But again this is a very simple fixing using materials most of us have to hand in our workshop, a small washer, and some silicone full tubing. Remove the tail wheel and cut a small piece of tubing and slid it onto the axle followed by a suitably sized small washer. The tubing helps pack out the excess length of the tail wheel axle and the washers prevent the wheel from binding up on the silicone when rolling. Once you put the wheel back on you'll find you now have a tail wheel that rolls only as it should and not side to side also.
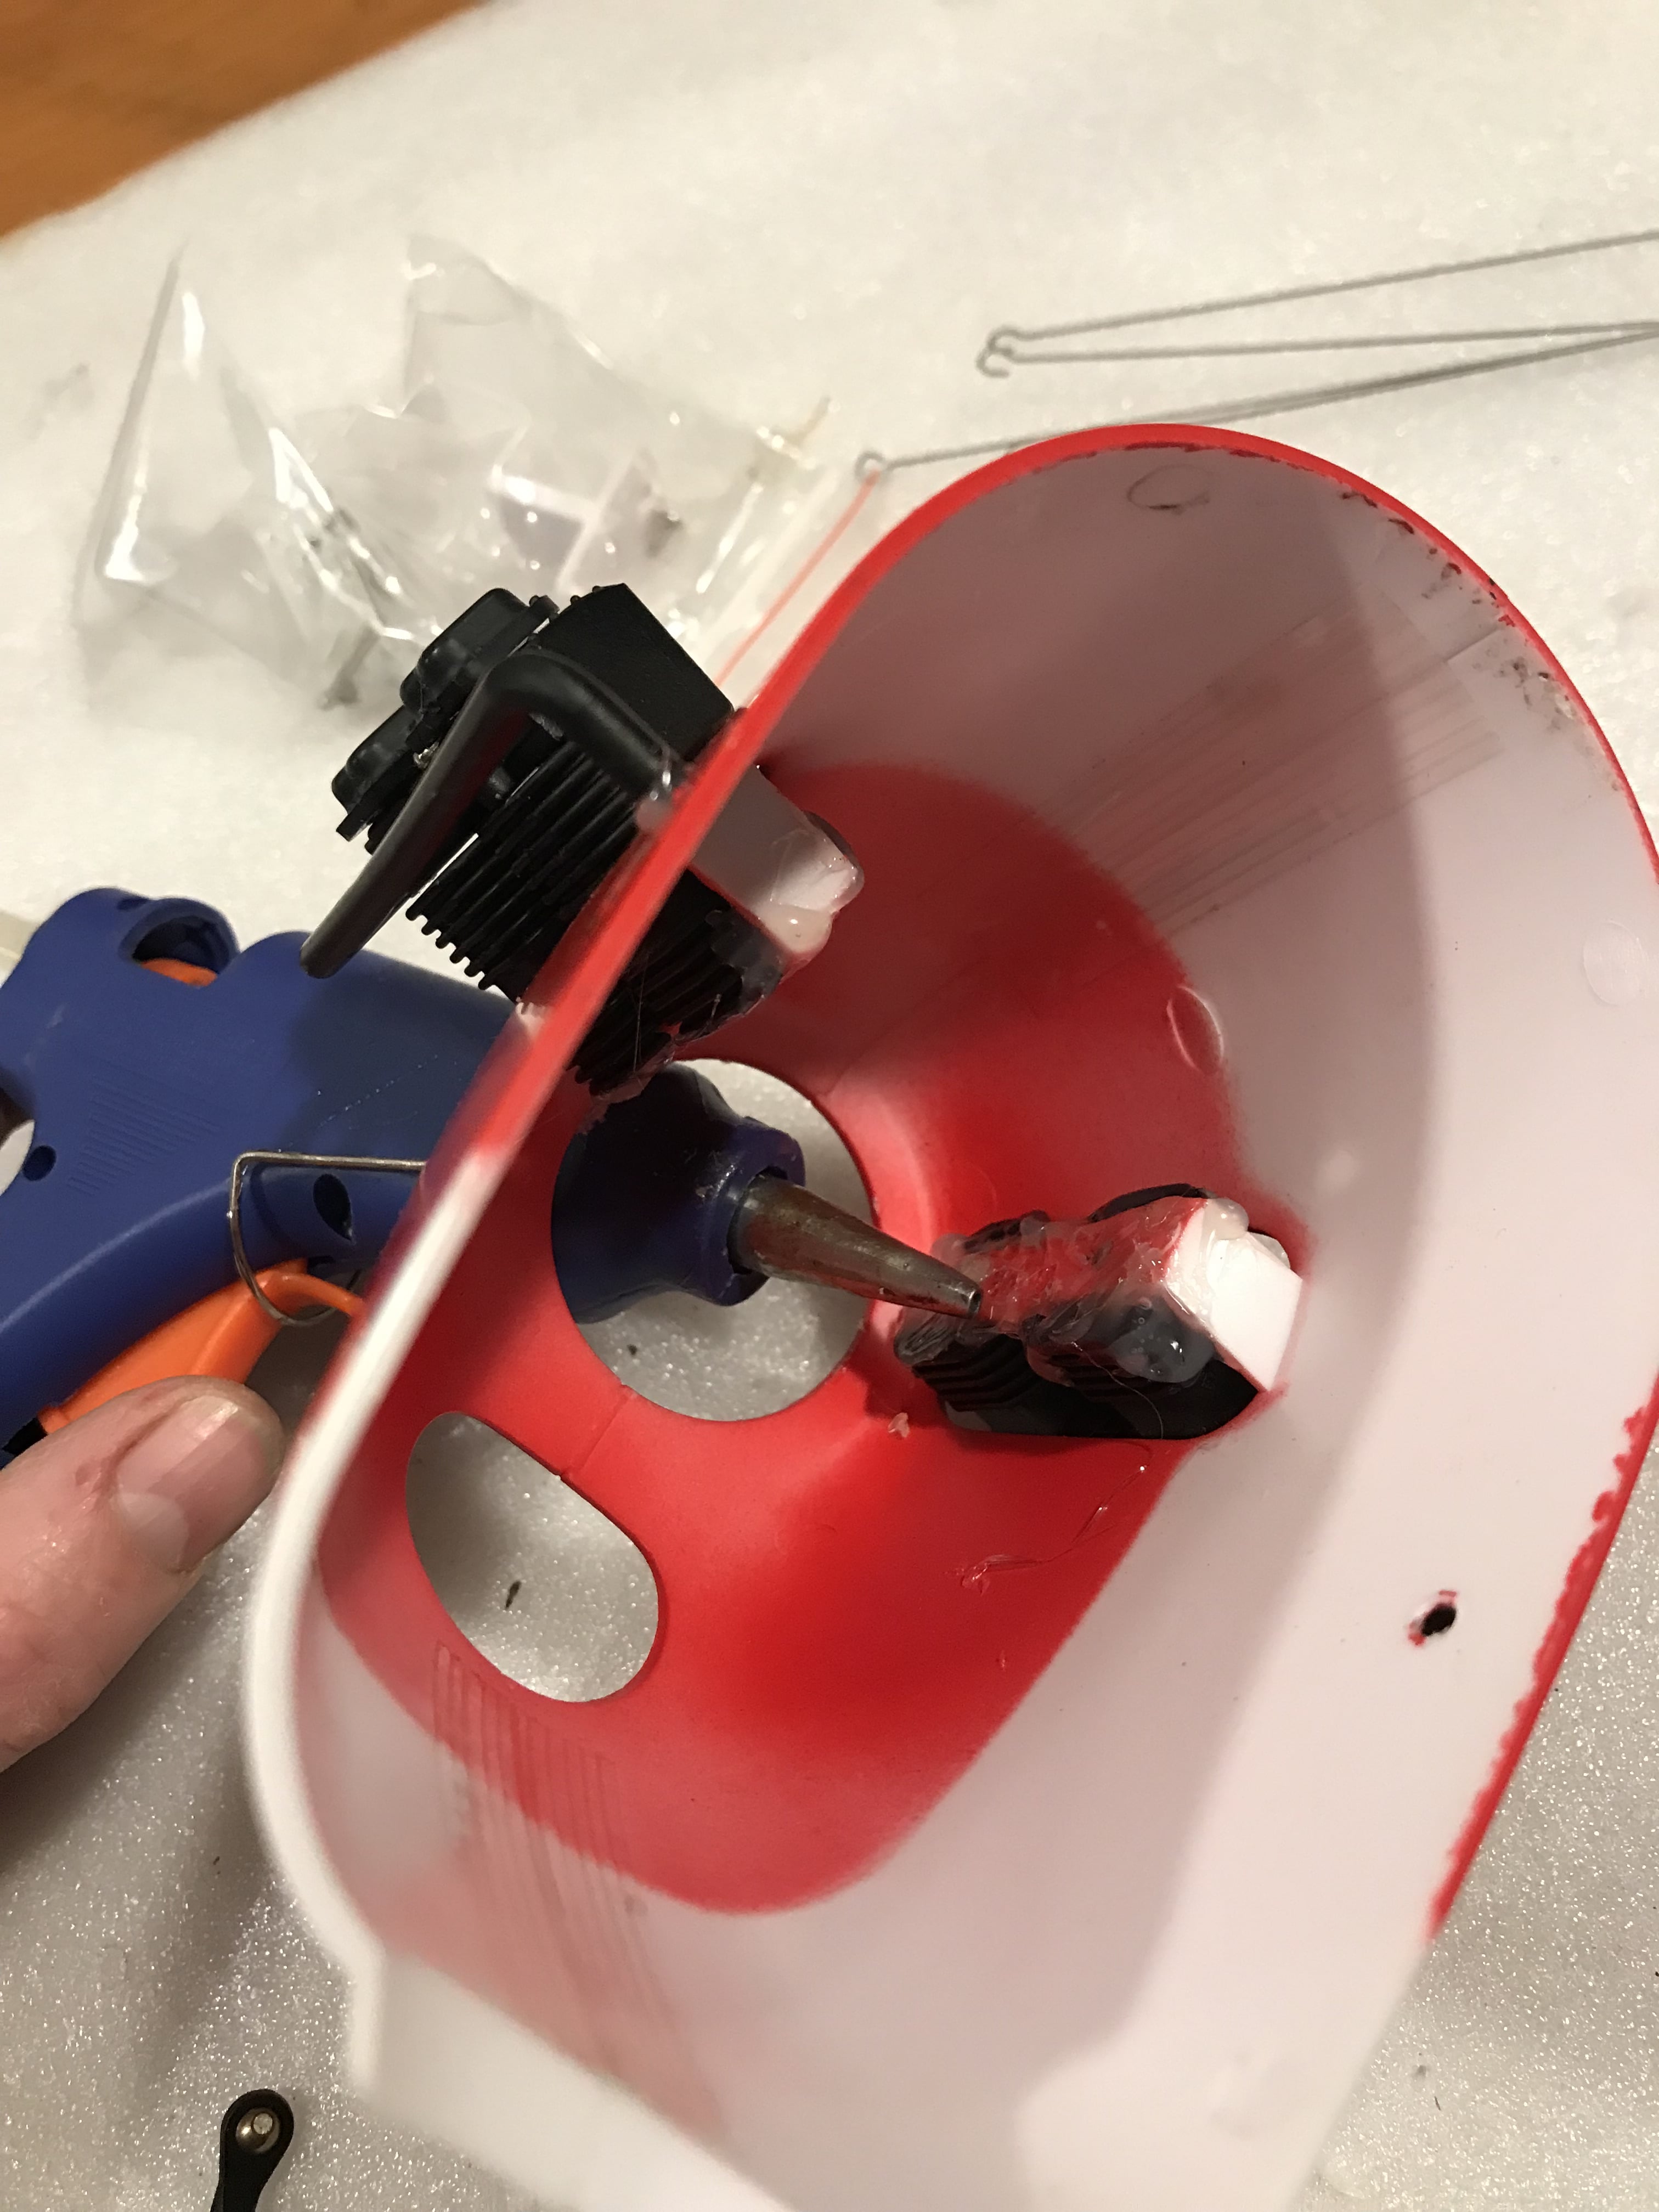
Moving right around to the other end of the SlowPoke we have those beautifully detailed dummy cylinder heads that adorn the cowl and really aid in the level of charm this model has. However, in some cases, these were found to be rather loosely fitted to the cowl and in flight would cause excess vibration that would only weaken the joint over time. Yet again, a quick 2min fix sees the cylinder heads held firmly in place for years to come and will greatly reduce vibration and associated noise in this area. So first remove the cowl then using a hot glue gun (the HobbyKing 3S power glue gun is great for this) you'll want to run some glue on the top and bottom of the attachment point inside the cowl (where the heads are attached to the cowl). Once hard the glue holds the heads firmly at their original joint and the best thing is it's all hidden internally so there is no chance of the dry hot glue spoiling the charm of this bird. Don't use too much though as you'll want to make sure there is no glue rubbing on the electric motor once the cowl is put back on.
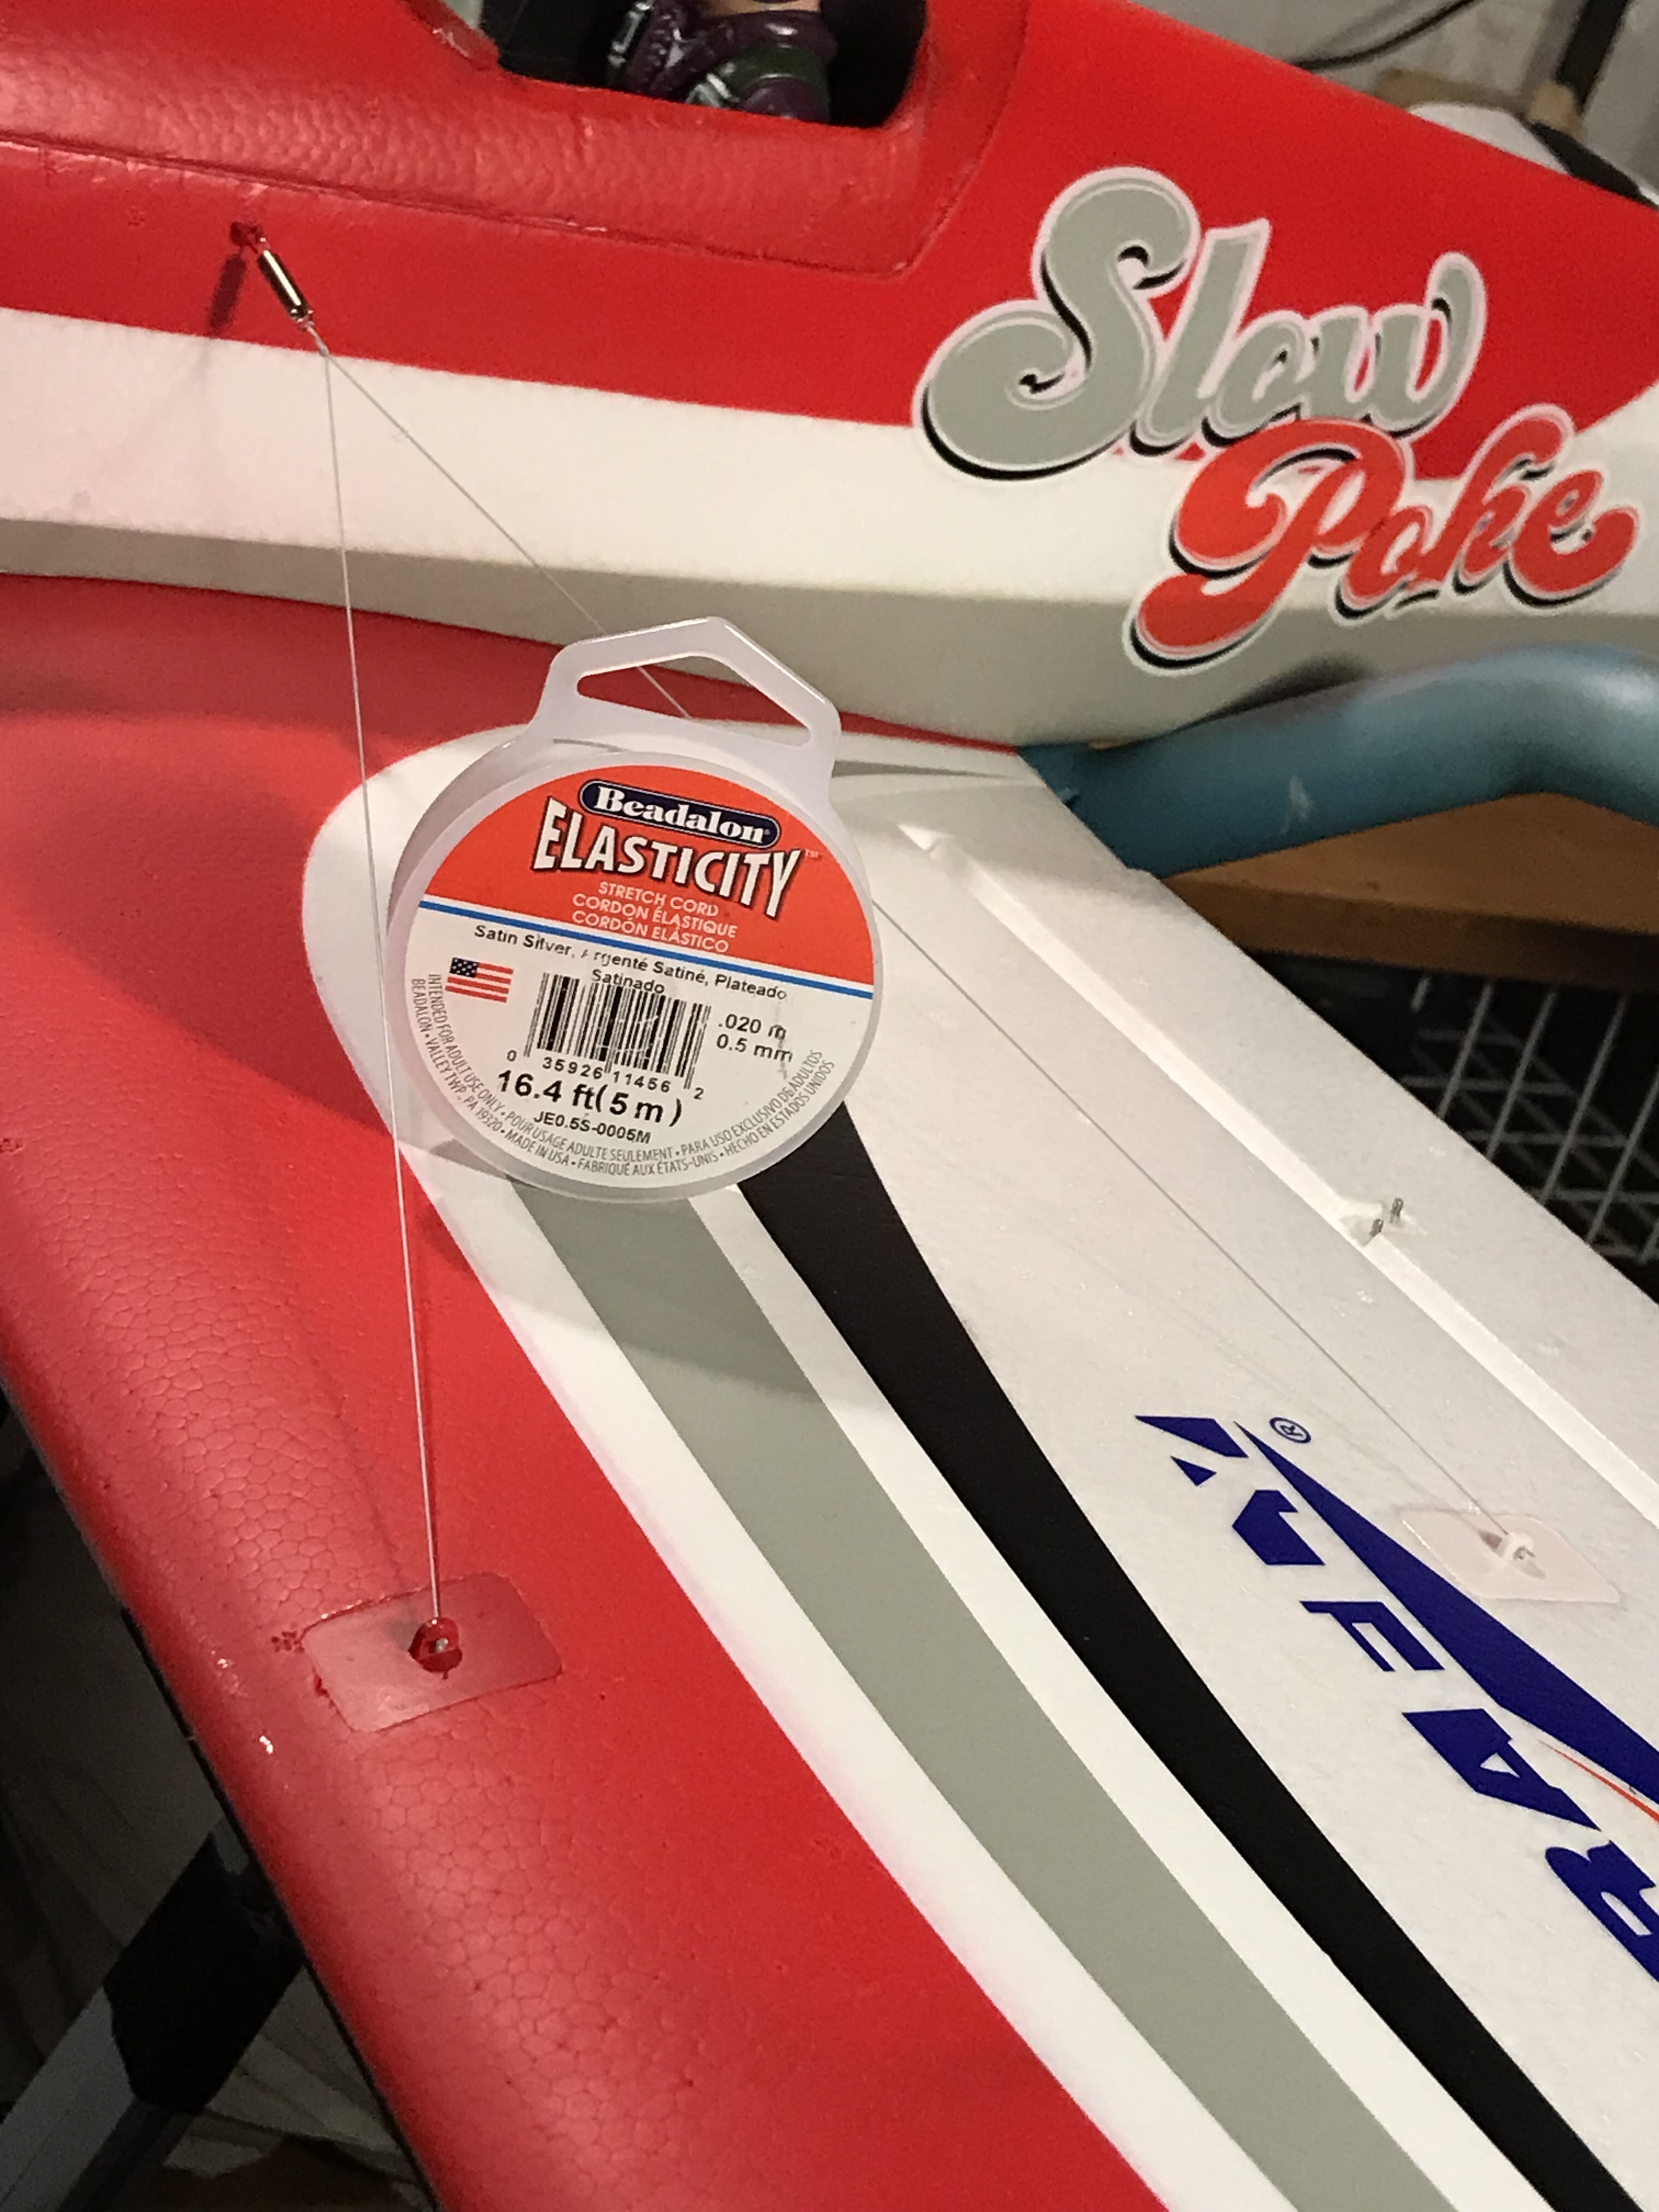
And so now we move onto more aesthetic mods for the SlowPoke that help only to improve the already quirky looks of this great model. The first improves on the already supplied rigging wires that come in the box with the model. Now these work well enough, but they are A) metal and so heavier than we'd like and B) are to be honest a real pain to install and C) are prone to movement and thus vibration in flight, and as much as possible we always want to reduce vibrations in a model. In this case, we replace the supplied rigging wire with a 0.5-1mm thick silver elastic cord (the same stuff you get from arts and craft stores). This not only has a dampening effect due to the nature of the material but is also far easier to install, especially if you remove your wing for transport. Make use of the springs supplied with the model and you can make a great-looking yet easily removed rigging wire for your model.
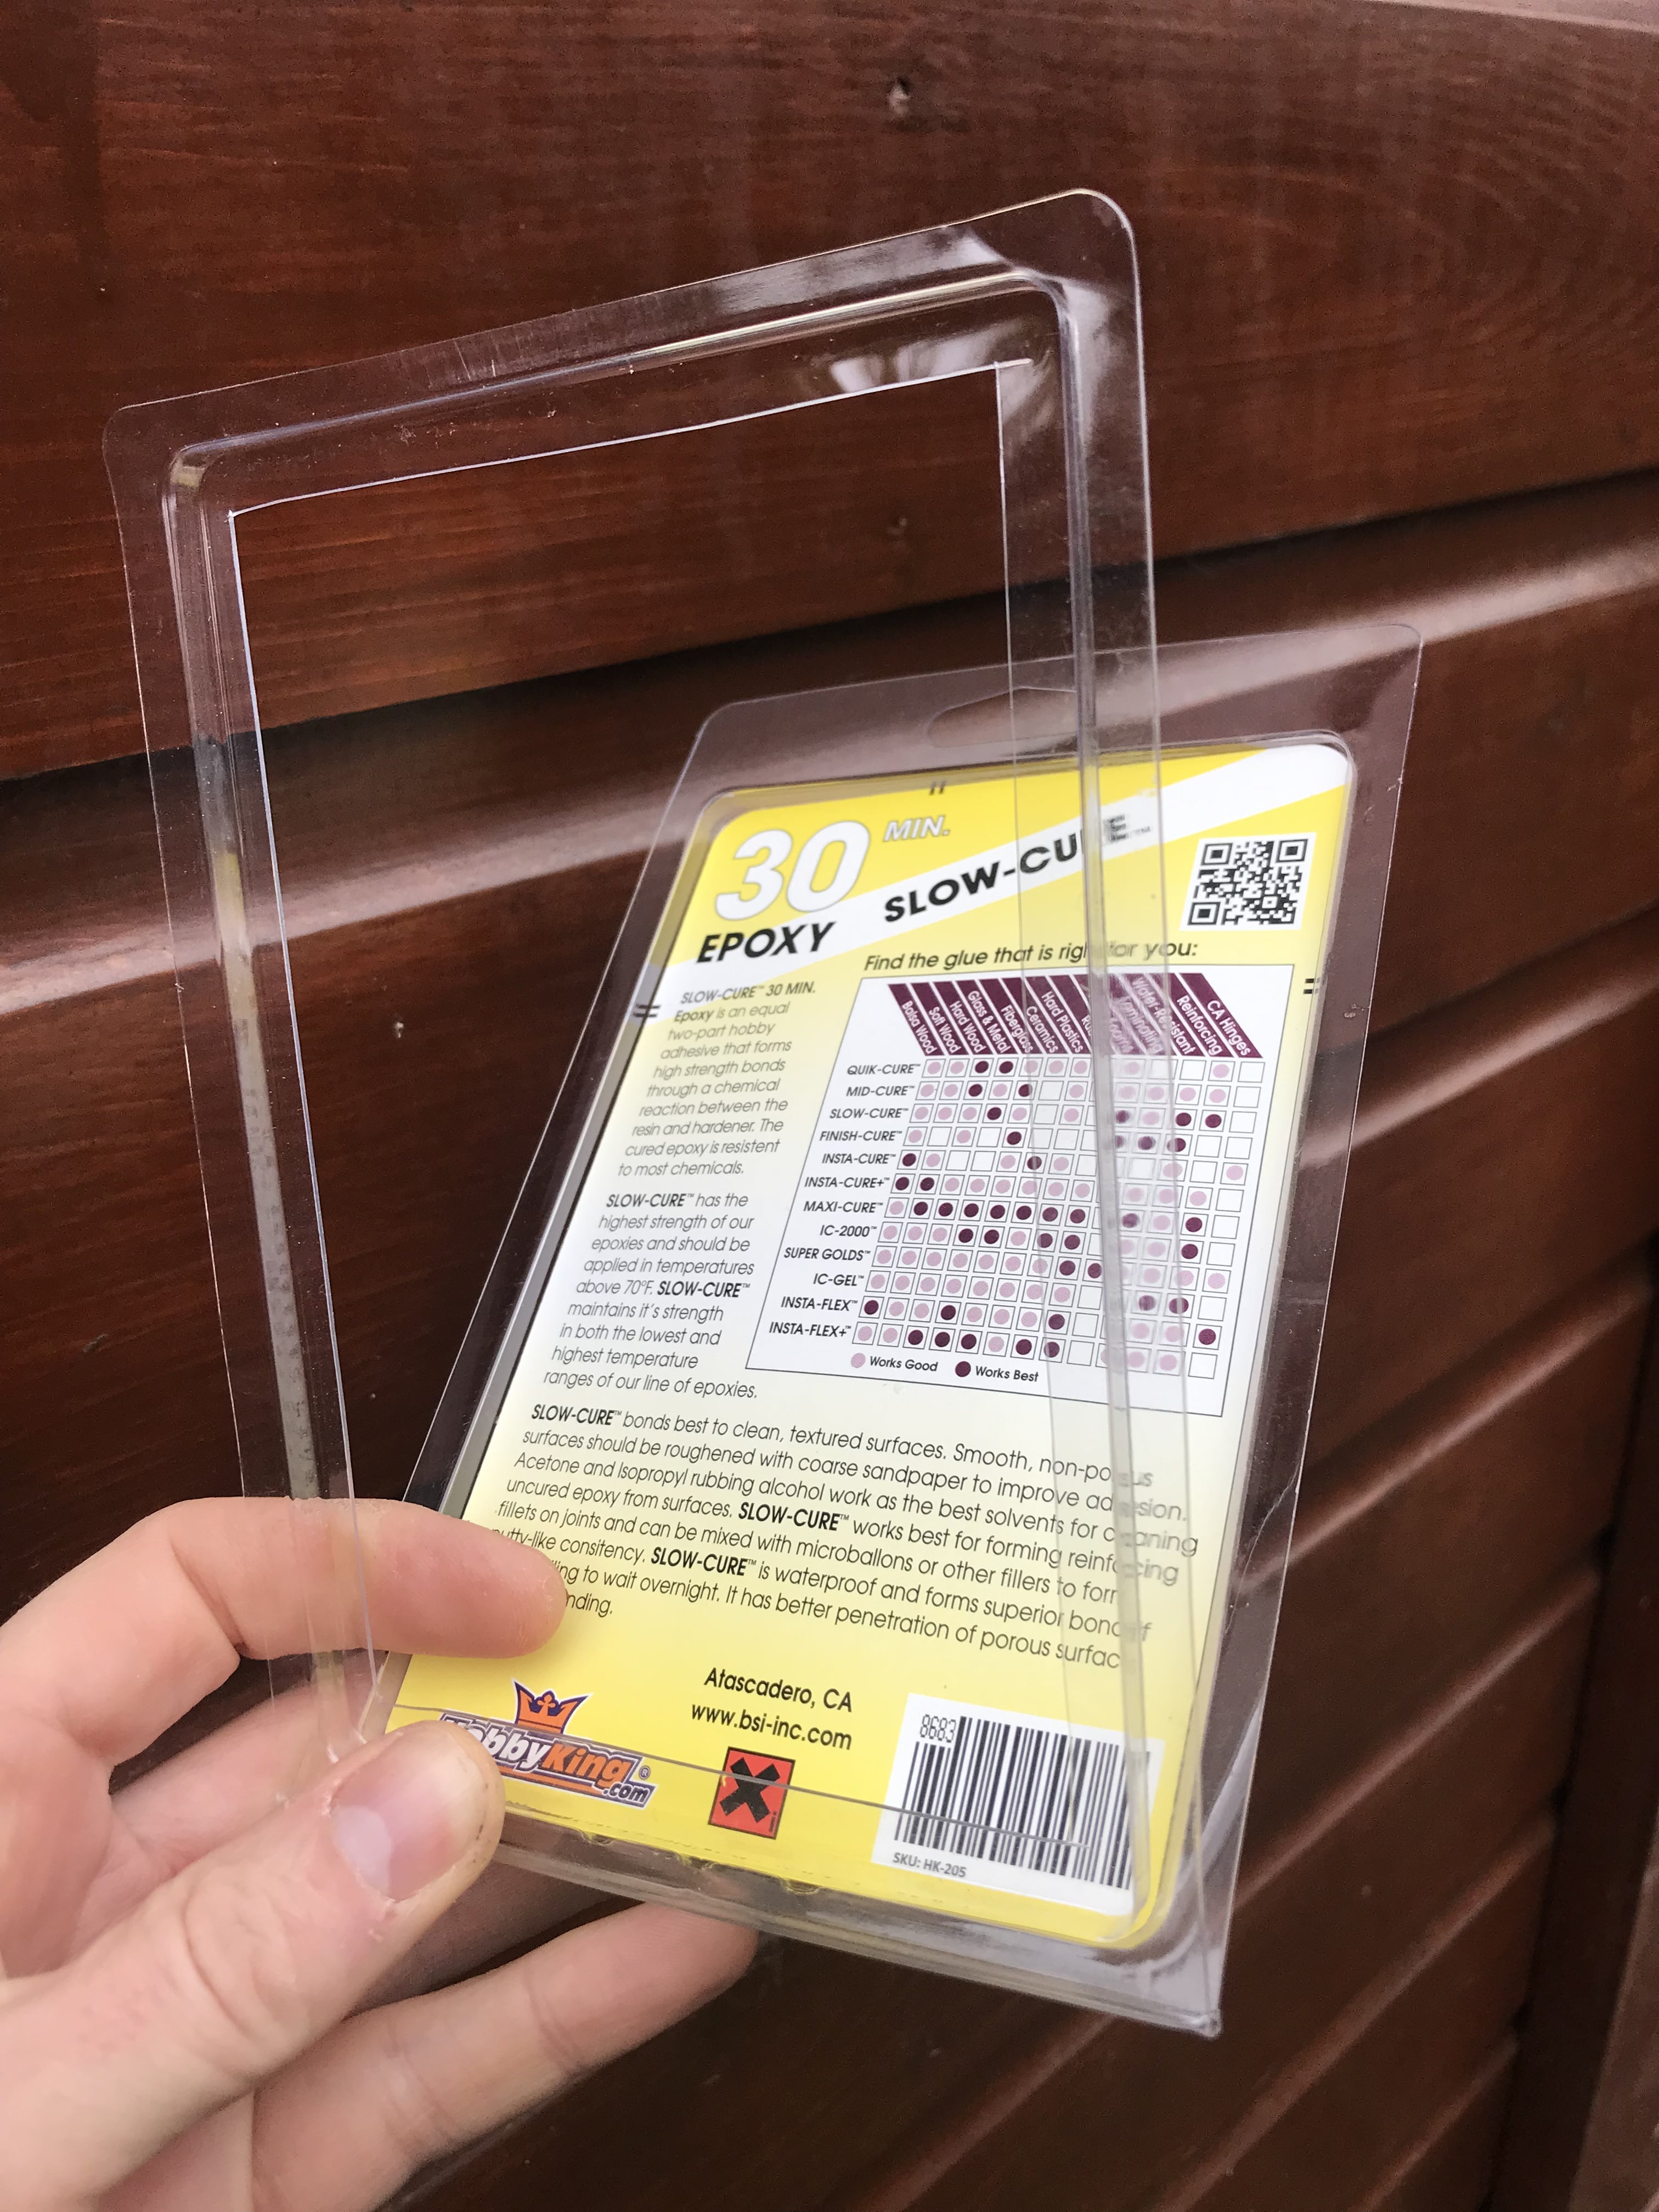
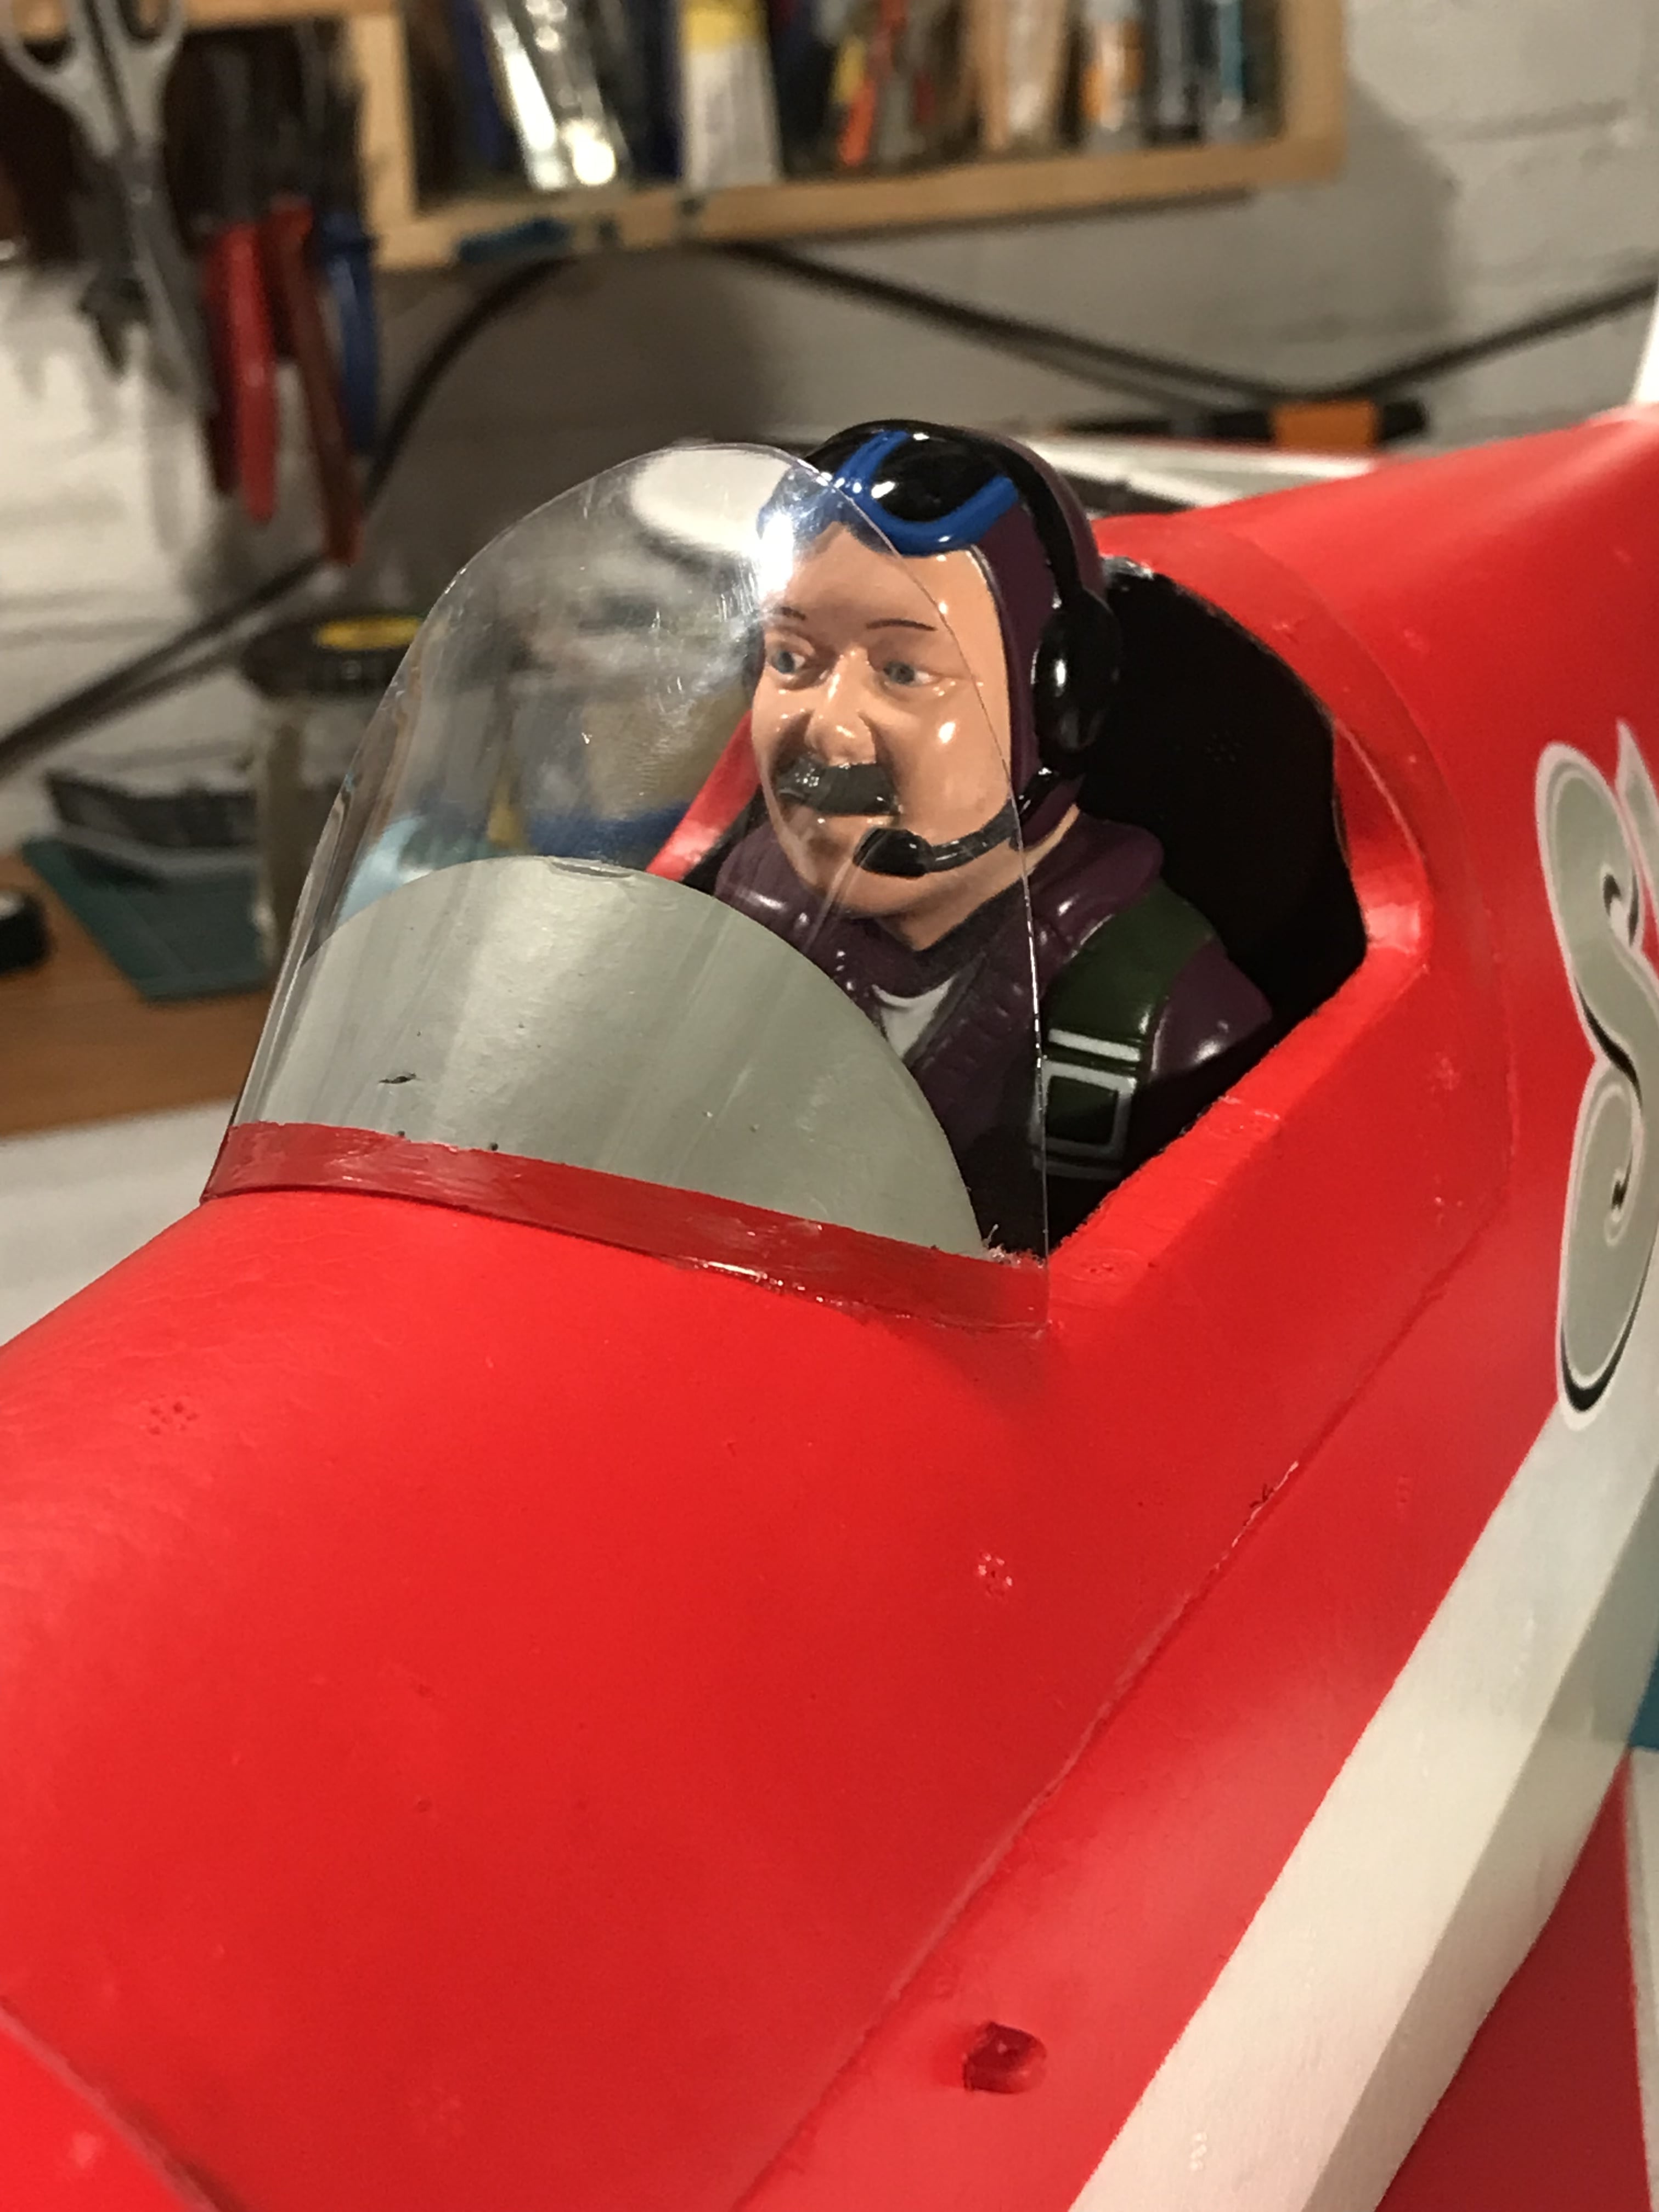
The last model mod for the SlowPoke serves no purpose other than improving the looks of the model so we'll leave it completely up to you if you wish to do it, but the windscreen I think you'll agree does really add a finishing touch to the design. It's cut from the clear plastic packing of the HobbyKing 30min epoxy and is approximately 0.8mm thick so is ideal for the task. I cut a paper template first to get the shape then cut the plastic to it. It's naturally rather stiff the plastic so in order to get it to confirm hold the plastic in place on the fuselage hatch whilst in front of an air heater or something similar. This will provide enough heat to soften the plastic so it can form the shape it's being held in whilst not enough doing any damage to the foam. Once "formed" glue and clamp in place and touch up with some red paint to cover the glue. Out of all the mods, this one takes the longest for sure but is visually the most rewarding.<p?
One final tip and this is purely in regards to assembling your Durafly SlowPoke, in some cases you may find the fit of the main wing spar VERY tight, it should not be. What you are looking for is a spare that slides into each wing half with only a little resistance. If it doesn't, you'll need to get your sanding block out until it does. Happily, as it's mostly of a plywood construction this is easily done but you'll 100% want to check this before you apply any glue anywhere!
So there we have it tips and mods for the assembly of the SlowPoke right out of the box to improve the overall performance, looks, and efficiency of the model. All these are covered in the Mod Tech Monday video below and one final tip we'll give you is if you have one, fly the Slowpoke on 4S. You can always use the throttle to 'slowpoke' around but with this extra power, it really brings the model to life in the sports aerobatics arena with no changes needed to the supplied electronics or prop!
Get the Durafly SlowPoke 1200mm (47.2) PNF (Red Scheme)
---
Hear it First: Join our Mailing List
Sign up to receive new product updates, exclusive discounts, news, and more!