A166 Stuka

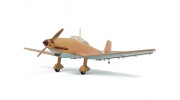
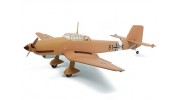
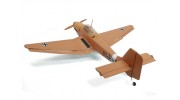
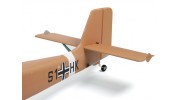
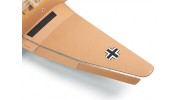
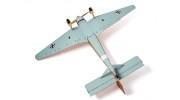


A166 Stuka
Поделиться ссылкой


-
Размах (мм ) 1400.00
-
 Unboxing
 -
 H-King Junkers Ju-87B-2 Stuka assembly part 1
 -
 ARF") H-King Junkers Ju-87B-2 Stuka 1400mm (55") ARF
H-King Junkers Ju-87B-2 Stuka 1400mm (55") ARF -
 H-King Junkers Ju-87B-2 Stuka assembly part 2
 -
 H-King Junkers Ju-87B-2 Stuka assembly part 3
 -
 Maiden flight
 -
Unboxing
-
Assembly part 1
-
Maiden flight
-
Unboxing
-
Assembly Part 1
-
Assembly Part 2
-
Assembly Part 3
-
Maiden flight
-
Maiden flight
Для загрузки видео необходима регистрация войти в систему или Зарегистрируйтесь

Для того, чтобы оставлять отзывы, необходимо зарегистрироваться войти в систему или Зарегистрируйтесь
Atte | Проверенный покупатель
-
Overall
-
Quality
-
Value
Good plane
Oct 23, 2017
Francesco | Проверенный покупатель
-
Overall
-
Quality
-
Value
Ottimo
Sep 25, 2017
Gorazd | Проверенный покупатель
-
Overall
-
Quality
-
Value
Excellent warbird
Sep 13, 2017
Ruston | Проверенный покупатель
-
Overall
-
Quality
-
Value
Nicely done stuka
Jul 25, 2017
| Maiden 1 | Download [5] |
| Maiden 2 | Download [5] |
| ju 87 valcesano | Download [26] |
| Ju87D | Download [557] |
| Ju87D Pilots | Download [441] |
Зарегистрируйтесь, чтобы загружать файлы.
пожалуйста войти в систему или Зарегистрируйтесь Начните помогать коллегам по хобби!
Related Tags
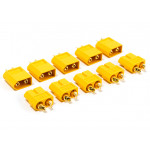
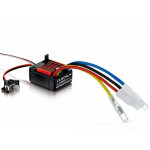
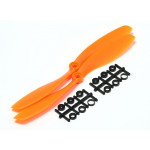
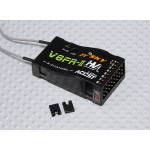
Аксессуары

Special Price 46,93 A$
You save 5,22 A$
Was 52,15 A$


Special Price 6,70 A$
You save 10,06 A$
Was 16,76 A$