Introduction
There are pilots that love to fly fast and their models flip and roll across the sky. Some pilots, like me, prefer the easy-going lazy style of flying with loops and rolls but with more graceful (I’d like to think) controlled flying. Each to their own but some models but some pilots better than others.
I guess that’s why I love ‘planes like the Tundra, Skywalker, Bixler, and Walrus. They are easy to fly but very capable, they can perform stunts and aerobatics but are also very stable. With their low wing loading, they can fly at speed but will also ‘float’ and soar too.
One of the things you’ll notice about all of those models I’ve just mentioned is that they are made of foam. I like foam. It’s easy to build, repair, easy to fix little and large crash damage, and takes little skill to repair and set up well. Foam has been my faithful flying material of choice for the last 7 years. That may have just changed for some model types.
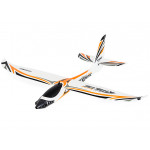
The new H-Kin EZIO1500EP is part of a new two plane line-up that differs from a lot of the model from HobbyKing recently. It’s made from film covered balsa and is designed to be tough and lightweight.
So, as this is my first foray into the exotic world of balsa models I’ll share my views as a foam pilot coming into the world of balsa wood and reflect on my impressions and experiences with this new model powered glider.
So, what comes in the box?
What comes in the box

The first thing you notice when you open the box is how light the pieces are as you pick them up. The weight of this model with a battery is only about 590g when built so it feels like something has been left out of the package if you’re more used to foam.
The sheet of decals is actually the first thing you’ll find as you open the package, next followed by the main chassis, the two wing halves, and the rear tail feathers. This model has a conventional elevator and rudder setup so the setup is very straightforward.
The covering on all of the pieces made it through the shipping with no problems and the application was smooth and even. I’m not sure what it is (monocoat or similar) but it’s very well applied on my model here and looks great.
 The servos and control horns are all installed in the wing and the elevator and rudder servos are inside the main body too. You just need to install and setup the control rods from the servo arms to those control horns.
Testing all of the servos with my servo tester found them all working well and very close to 90 degrees at 1500ɱs PWM pulse, that’s speeded up the setup considerably.
 The tail feathers are installed using some CA or similar glue, I used an epoxy here for resilience as there are no screws to hold them in place and I always wonder about the hardness of CA when it’s dry and how it can crack under load. Epoxy, for me, seems to take knocks a little better.
The main wings fit into the opening at the top of the main fuselage of the plane, just above the servos you can see here, with a lug at the front and two screws with a plastic washer to protect the upper surface of the wings.
 Once those are installed and the linkages in place then you can install the receiver. You’ll need a 5 channel receiver (throttle, right aileron, left aileron, rudder, and elevator).
Building tips and tricks

The build time on this model is very quick, less than 20 minutes if you know what you’re doing. The manual is very clear and easy to follow. The longest time you’ll need is waiting for the glue holding the tail feathers in place to set up properly.
The model comes bare white so the decal application is best done before assembly - trying to apply them afterward with the model built will be tricky. Make sure the model is free from any dirt or dust before application and take your time. I used the box art for reference.
Do note that those ailerons do not come with a Y cable. Initially, that may look like an oversight but as this model has no separate flaps, as is designed as a soarer, being able to mix in flaperons as well as setup mixes for crow and reflex will be needed.
 The low wing loading on this model makes it easy to hand launch and the folding prop at the front makes it slippy when gliding. Turn on the brake on the ESC though, mine didn’t have that on by default and you want that prop to stop cold and fold when you turn off the power.
The only other tip is about the wings. They are held in place with two screws as I’ve mentioned before. If like me you spate the decal that covers the top of the wings then consider popping some tape along the seam for the two wings underneath. If the model stops suddenly in a landing the wings have a tendency to try and swing forward and separate only held in place by those single screws. The tape helps keep them in place.
The last idea is to consider popping tape along the bottom of the fuselage too. It’s the same coverage as the rest of the model and will be damaged if it lands on anything sharp or rough like gravel or concrete.
Setup
Setup is simple too if you don’t count the setups for flaperons, reflex, and crow – but you can ignore all of that and fly it with the basic controls.
Here are a few of the specs –

I used an X8R receiver and the model memory I used is available from the linked video.
I used a 1300mAh 3S LIPO here and the CG was perfect. The all-up weight with this battery was a little more than expected at 597g. But that’s not a lot when you consider this is a 1.5m wingspan plane!

Flying and my experience

This is a lovely model to fly.
Some models feel like they want to fly and this is absolutely one of those. The first-hand launch was perfect and with a few clicks of elevator trim, it was flying perfectly. The model can cruise at 20% throttle all day but has plenty enough power for acrobatics.
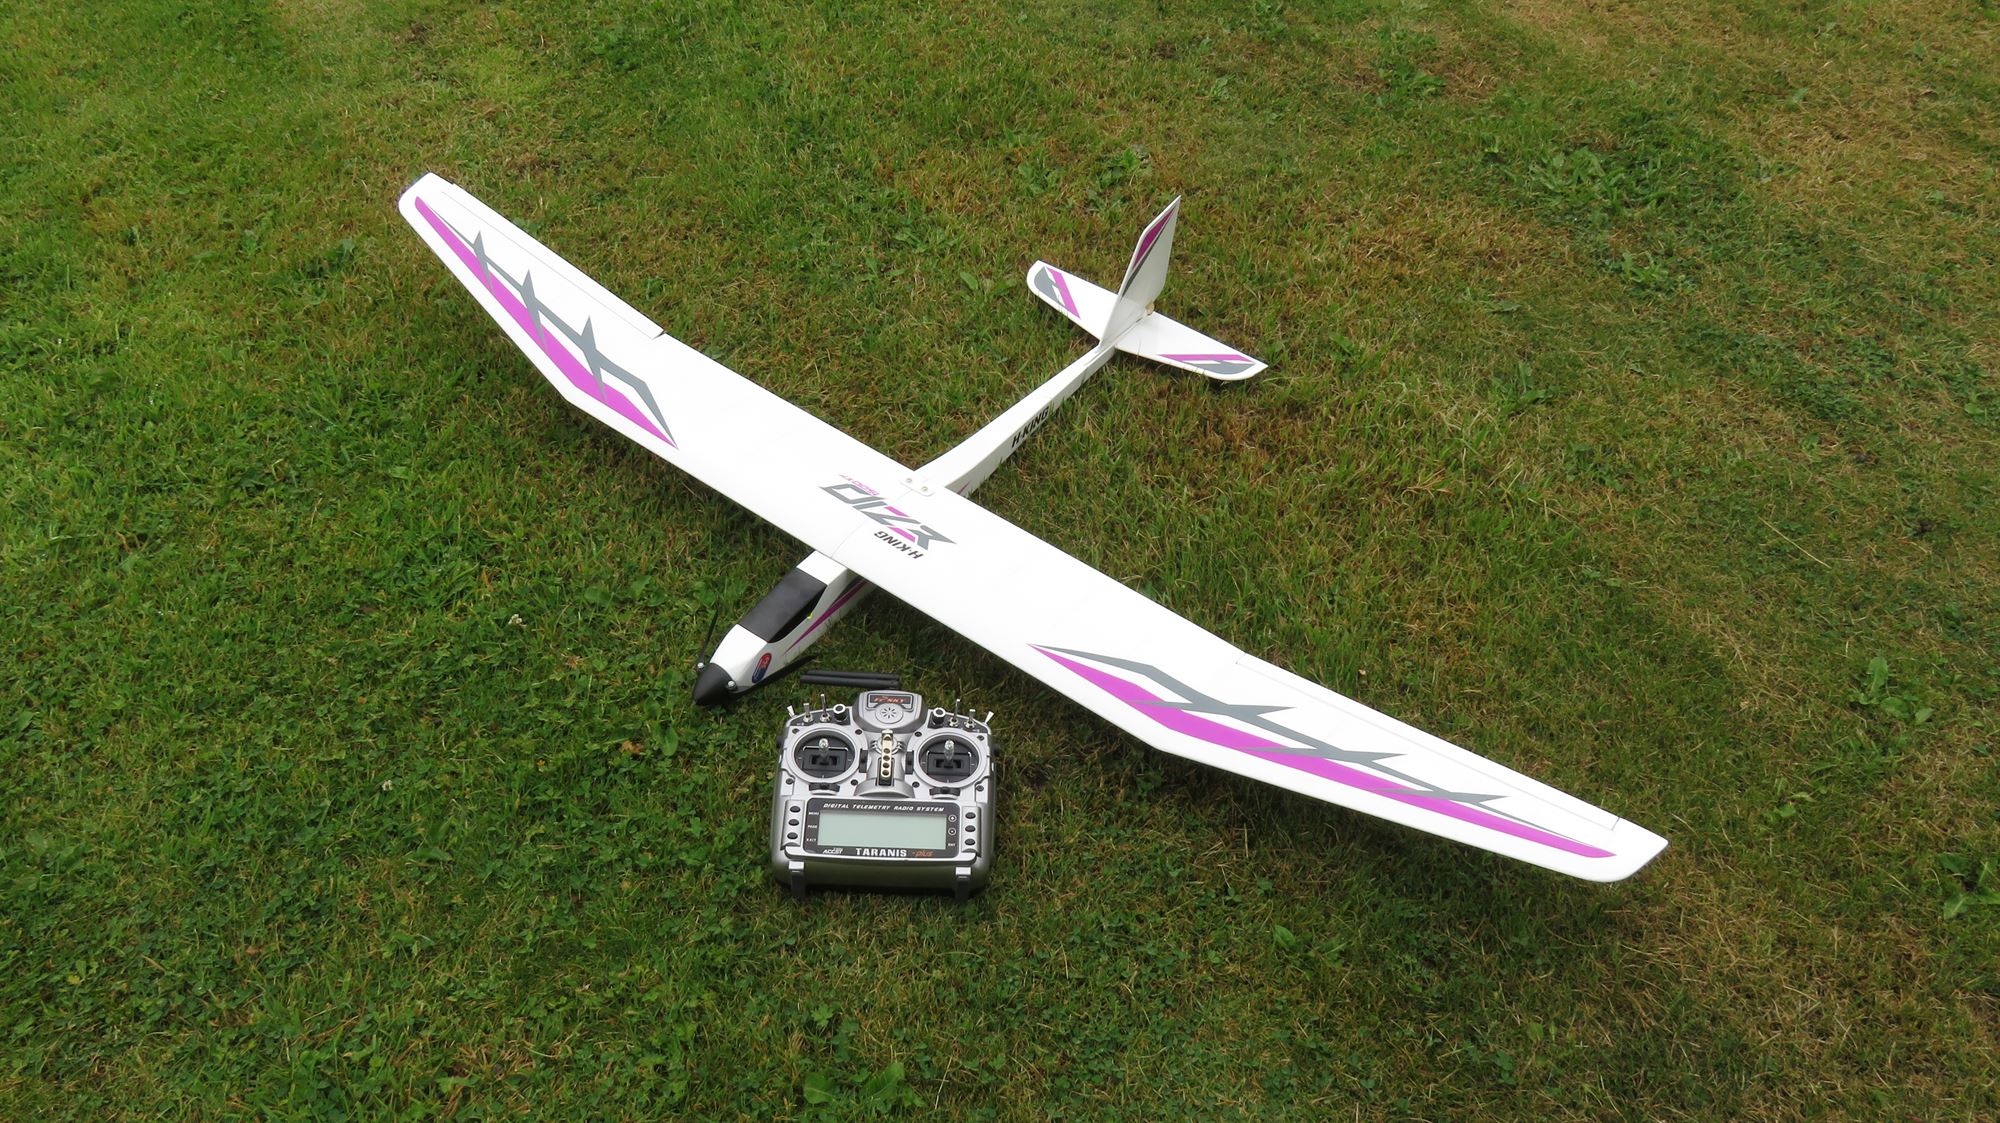
The decals in the box include all of the purple and black pieces for the tops of the wings and nice bold black decals for the bottom of the wings that help with orientation.
 Watch those landings though. This model doesn’t want to be out of the air so it will float and remain in ground effect for many meters so give yourself a little longer than you expect when you come into land.
The first time you go to the field in the sunshine and hold the model above your head is when you spot how beautiful the internal structure is.
With careful flying, I was using just over 1% of the battery for every minute of flying time. So even with a 1300mAh pack that equals a lot of time in the air, more if you cut power and soar/glide.
The model is very stable and the tip stalling is very gentle too. It inspires confidence and has a huge speed envelope; you can float at walking speed or really get it moving with that throttle wide open.
Tips and tricks

Not a lot to say here. The 1300mAh pack I used just fitted into the canopy, that held in place with magnets but I’d also use a bit of tape too for safety.
The tricks with the mixes on the radio and the tip with the tape for the underside of the join of the wings are the main ones here. This is a ‘does what it says on the tin’ kind of model.
Summary
Some pilots have asked me a lot about the very technical detail about the aerofoil and other detailed pieces that real balsa soarer pilots love. Interestingly this isn’t being marketed or sold as such. It’s an electrically powered balsa glider. If you want a high-end glider then there are other models but this thing is very nice to fly.
If you’re a form pilot like me the main differences are the reduced weight of the model and the impact of that on how it flies. You can tell it’s a little special and maybe I need more Balsa planes now?
The other big difference for foam pilots is the lack of crash resistance with a model like this. Foam can be bent back into shape with hot water and broken pieces can be easily attached with a cheap hot glue gun. Not so here. You need to be a decent enough pilot to fly this plane and land it without the usual mishaps that can happen. Fixing a plane like this isn’t impossible but requires a few more tools that most of us foamie flyers have – covering and covering iron as well as CA glues and supports.
For me, I’m very pleased I risked it and got one of these. It flies great and looks amazing, maybe it doesn’t have the curves of some of the other models but I’ll forgive that all day long if it flies like this.
Written by Painless360
Hear it First: Join our Mailing List
Sign up to receive new product updates, exclusive discounts, news, and more!