Written by ShawnOSullivan
By now you have seen it either on Youtube or on the news, competitors are flying little radio-controlled “drones", being piloted through video goggles that put the pilot “in” the cockpit. It looks like something you would see in 'Star Wars'; these little craft flying at break-neck speeds through the forest, shooting through “air gates” in a park, or skimming the pavement in a parking garage. FPV racing is taking the world by storm.
So what does it take to get involved in this new and growing sport? A degree in rocket science? A bank-roll the size of a small nation? Fortunately for less than the cost of a new gaming console, you can start FPV Racing/Freestyle. The best part is no matter what your model building experience, even if you have never built a model before, you can get started in FPV! There are several almost ready to fly (ARF) models out there that all you need to do is charge the battery, put on the props, and you are in the air.
FPV is something almost anyone can enjoy; young, old, male, female, and everything in between. If you have the desire to learn (FPV is challenging), you can become a FPV pilot. In this article, we will go through everything you will need to get started in this exciting sport. We will be purchasing items and components that are the best in a value vs. quality standpoint. No point in buying on the cheap; you will end up with bad components that you will have to replace, and that costs more than buying good, but economical, parts first.
Your Gear
First, let’s go through the list of the basic equipment you need to get started in FPV:
FPV Racer/Freestyle Multirotor
This is your craft. It is a small (about 250mm from motor to motor, diagonally) multirotor model aircraft, powered by motors. The motors are controlled by a flight controller that helps keep the craft level by taking readings from a gyro on the flight controller and delivering power to the different motors. There is also a video transmitter and a camera onboard; this is how your “see” from the cockpit of the multirotor. There are more components involved, but we will get into those later. You can build your own from components, or you can purchase a pre-build model.
FPV Goggles
These are the video goggles that allow you to pilot the multirotor. When you are wearing the goggles, you are “in” the cockpit of your multirotor. The goggles are linked to your video transmitter and camera in your multirotor. You see, in real-time, what your multirotor sees. Your FPV goggles can be one of the biggest single item expenses in the sport. There are several low-dollar, high-quality options that will allow you to get into the sport without breaking the bank. This is what we will focus on.
Radio Transmitter
 This is what you use to control your multirotor. There are quite a few varieties out there. Most have a minimum of 4 channels. These channels are how the multirotor is controlled. Forward and backward would be one channel; roll left or right would be another channel, etc. What you want to look for is a radio with at least 6 channels. This will allow you to assign other functions to the other channels. You can set a switch to activate an alarm to find your multirotor when it crashes, as well as setting another channel to arm your multirotor’s motors (an important failsafe). Transmitters can be the second most expensive single item; we will focus on value.
Batteries
These are Lithium Polymer (LiPo) batteries. Most racers are using 3 or 4 cell LiPo batteries to power their multirotors. A 3 cell battery is about 12v, a 4 cell battery is about 16v. A 4 cell battery will deliver more power to the motors than a 3 cell battery. That means more punch, higher speed, and faster lap times. These batteries deliver a large amount of power in a small-time. The average runtime is about 4 minutes.
Battery Charger
Now that you have depleted the charge on your batteries, you need to “fill er’ up”. That is where your battery charger comes into play. Most battery chargers you will be looking at will be able to charge a wide variety of battery types, and will have an onboard computer to monitor the charging of these different types. We are dealing with LiPo batteries, which can be dangerous if not handles properly. Please look up LiPo Battery safety on YouTube, if you are not familiar with safety practices. This is important, a LiPo that is mishandled can burn you, and your house, so be careful.
HD Camera
What is more fun than flying FPV? Sharing your flights in eye-blistering 1080p 60 FPS, of course. Almost everyone puts an HD video camera on the top of their multirotor, to record the flight. These come in all shapes and sizes (and prices). We will look at the lower-priced models that don’t sacrifice quality for the price. Some even have “GoPro guts” without the price tag!
This is the most basic list of FPV essential equipment. With these items, you can start FPV. Now let’s look at the individual items in a little more detail. What I am going to do is provide two “shopping lists”; one list will be for the DIY builder, who has experience and tools (soldering iron, Allen wrenches, etc.), and the second list for the pilot with no building experience.
RTF (Ready to Fly) & ARF (Almost Ready to Fly) Version Multirotor
EMAX Nighthawk Pro 280 RTF (Ready to Fly) – You can find this multirotor for about $230, with a 6-Channel radio transmitter. Everything is assembled; put on the props, put a battery in it, and you are flying. The EMAX Nighthawk is a great entry-level FPV multirotor that won’t break the bank. It is not bulletproof, but it is strong. 3mm thick arms (to withstand crashes), all of your components (flight controller, electronic speed controllers, and power distribution board) are on one board. If you have a component failure, there is no need to troubleshoot; more than likely the problem is on the mainboard. You can get a replacement board for about $85 from Hong Kong.
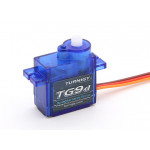
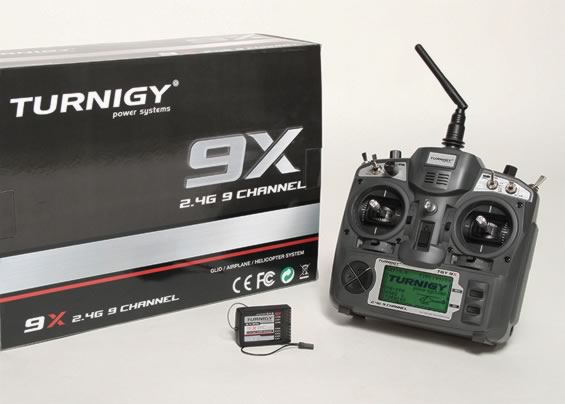
The board is plug and play, so no need to solder. This multirotor uses a common flight controller (Skyline32, a Naze32 clone), EMAX speed controllers with the latest firmware, and EMAX motors. All of the tunings have already been done for the multirotor, but you can make any minor improvements through a PC interface. You just plug your multirotor into your PC, and you can change settings through a program called Cleanflight (found on Google Apps). The radio transmitter isn’t too bad (if you want a better transmitter, you can get the Nighthawk ARF (Almost Ready to Fly) for a little cheaper, and then add a transmitter. It will require in-stalling the radio receiver in the multirotor, but it is plug and play and really easy. The ARF version can be found for about $190, and a Turnigy 9x Transmitter is about $50. I would highly recommend this option; for a few dollars more, you will get a far better transmitter.
FPV Goggles
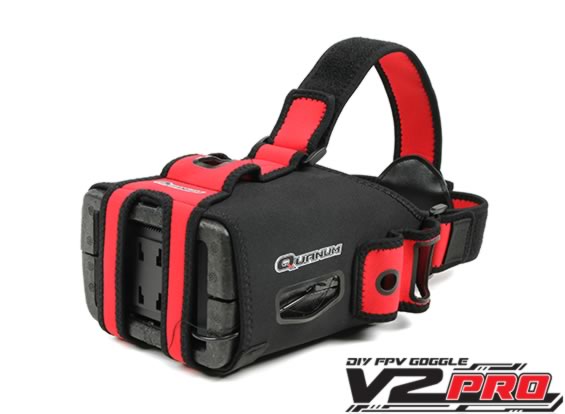 Here is where a bunch of money can disappear in a short amount of time. FPV goggles can be expensive. Fatsharks (which are like the iPhone of FPV goggles) start at $250 and go up. I am going to show you how to get a great set of goggles for half that price. Hobbyking.com has a goggle kit called the Quanum V2. It is a kit that consists of a 5” monitor, a foam holder, and a neoprene sleeve that holds everything together. This is the setup that I personally use. You add a 5.8 GHz video receiver, a cloverleaf FPV antenna, and a battery (your 12v battery that your use for your multirotor can also be used for your goggles, buy as many as you can afford). All of the components (goggles, video receiver, and battery) cost about $100, a fraction of the cost of Fatsharks. In my opinion, I prefer the Quanums over the Fatsharks. The Quanums are larger, but the field of view is HUGE! For the video receiver, go with a Qaunum Auto Scan; about $35, they are small, inexpensive, and decent. Also, consider buying upgraded antennas; they are the most important part of your FPV setup. Bad antennas give HORRIBLE signal. DO NOT SKIMP; you will end up buying the better antennas after you wasted money on cheap ones. I recommend VAS antennas. Domestically made in the US, they are some of the best antennas out there.
Radio Transmitter
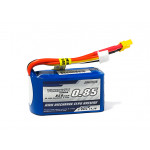
Turnigy 9x from Hobbyking.com. It has a $60 price tag, but a definite upgrade to the transmitter that comes with the RTF version. You will need to install your radio receiver in the Night-hawk, but it plugs in nice and easy, then you just zip-tie your receiver to the frame. Having an 8 channel radio is an advantage because you can assign the extra channels to different functions (arm switch, flight mode switch, LEDs, etc.) and control them with your transmitter. Your radio runs on AA batteries, but I suggest you get a flight transmitter battery pack (about $14) if you can afford it. You will then be able to charge your transmitter battery with your battery charger. No more AA’s!
Batteries
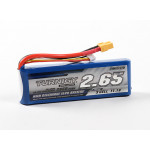
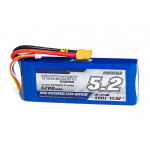
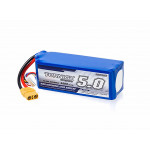
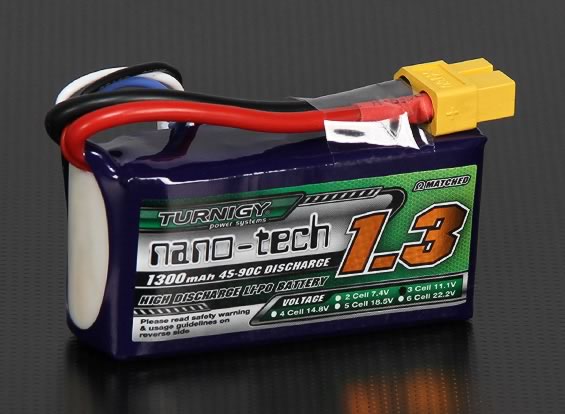 I recommend either Tattu or Turnigy Nano-Tech batteries. They are inexpensive and reliable. Here are a few things to look for; voltage (12v or 16v), milliamp-hour (mAh) rating, and discharge (C) rating. The voltage is how much power your battery provides. A 4S (16v) battery will deliver more “oomph” than a 3s (12v). The mAh rating is how long your battery will run. Most racing multirotors are using 1300 mAh batteries. Hardcore racers are now looking at 100 mAh batteries; just a little lighter, but similar run times. Finally is the C rating. This is how much power you can deliver to the motors at a given time; A higher C rating (45-90) will provide more of the battery’s power to the motors than a lower C (30) rating. Most multirotor batteries we use are in the 45-90 C discharge range. 3 cell batteries will cost $15-$20, 4 cells are a little bit more. Buy as many batteries as you can afford.
Battery Charger
Turnigy P405 Dual Input (AC/DC) 45W Digital Balancing Charger. It costs about $30 from Hobbyking.com. It will charge LiPo batteries up to 4 cells, has the ability to plug into the wall (AC or run off of a battery (DC), and has a max output of 45W. This charger is a really good bang for the buck. Also, check out the various Youtube videos on safely charging your batteries.
HD Camera
 Let's make a movie! Seriously, there is nothing better than sitting back after a day of flying and watching your flights in 1080p @ 60FPS. There are a TON of “GoPro” style cameras out there. Some are better than others. One of the best is the Xiaomi Yi Ambarella a7ls; it is the GoPro without the price. As they would say, “GoPro guts”. Uses the same chipset as the GoPro, and you can find them domestically for under $100 with a spare battery. An often overlooked camera is the Sony ActionCam (which I personally use). Great specs, Carl Zeiss optics (same as on the Sony DSLRs) crystal clear.
There are other various odds and ends that you should look at getting as well. These include (but are not limited to) a small voltage meter, a battery tester that can plug into your balance port on your batteries, some zip-ties, etc. These pieces and parts will keep you flying, allowing you to make repairs when necessary.
This may seem like a lot of information to digest, and a lot of gear to understand. The great news is that there are several large online communities, such as the Mini Quad Club on Facebook, as well as a large and growing collection of local groups, who are obsessed with multirotors and FPV. You have thousands of people, worldwide, who are ready and willing to help you understand this new and growing sport. We love to share our successes, and failures, in FPV so that you can learn from our mistakes.
So get ready for the ride of a lifetime, FPV is here to stay!
Hear it First: Join our Mailing List
Sign up to receive new product updates, exclusive discounts, news, and more!