Introduction
In this article of our 'Learning to Fly' series, we will explore all things multirotors!
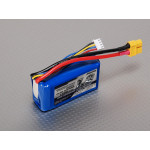
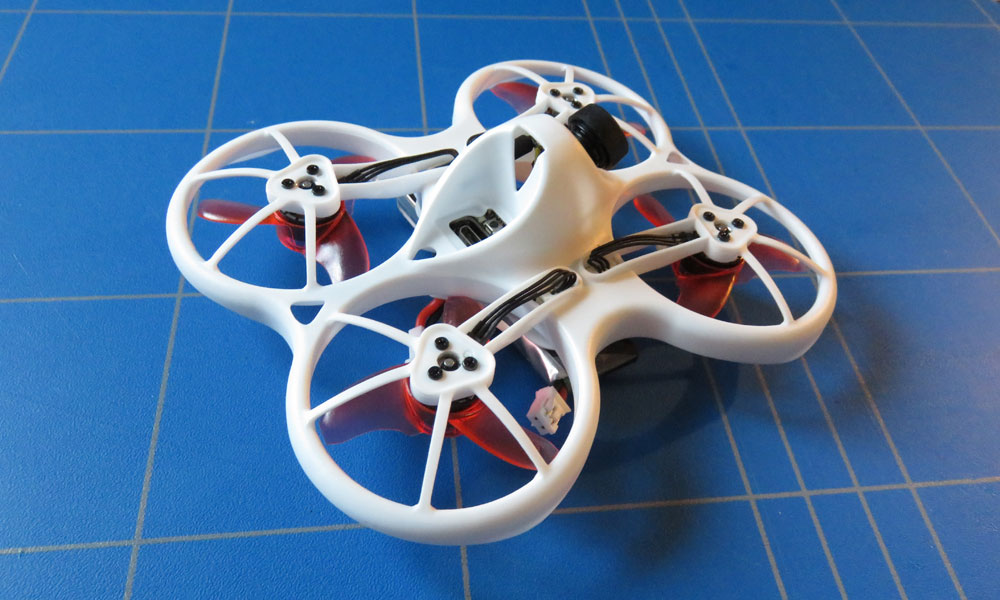
Multirotors are cool. They come in all shapes and sizes and, just like getting into flying fixed-wing models; there are good choices to learn with and less good choices. Multirotors use the thrust from a number of motors and propellers to create enough lift and quadcopters use a neat trick of using the counter-rotating torque from the turning props to also rotate too. Quadcopters are the most common multirotors you'll come across but you can buy or build multirotors with just two to dozens of motors and props if you want to! It is tempting when looking at all of those 'review' videos on YouTube and the forums to become a little overwhelmed. New models come out all the time and many reviewers will claim that every model they review is 'the best one yet' but few think about the needs of a new pilot. Luckily for you - that's exactly what this article is all about. Unless you have the cash to spare and own a few acres then starting out with one of those high performance 5 'racing' quads will make the process harder than it needs to be. A far better option is one of those 'indoor' quadcopters like a Tiny Whoop style model or something like the EMAX Tinyhawk (pictured). Indoor models will be calmer and offer prop protection for the other things in the house (including you and the family!) as you will crash a lot as you run through these lessons below. A smaller lighter model means that it'll shrug off a 'hard landing' and be easy and cheap to repair if you need to. Many (like the Hubsan models) come with a small transmitter in the box to make the initial steps easier if you don't own a compatible radio. Don't get one that's controlled by an app on the phone, these are fun but will not give you what you need to fly anything but DJI style video drones. If you're looking to learn then the use of a simulator is a good idea too. If you already own a simulator then there will be multirotors models in there somewhere so it's worth looking to see what is available.
Setup of the model
- Expo
- Center values settling on 1500
- Throttle cut/arming switch
- Throttle curve around the hover point
- COG
If you buy a 'Ready to Fly' or Bind and Fly (BNF) model then a lot of the hard work is already completed for you. Videos like my BNF Beta flight setup video will help you change the settings you need but a quality model will be set up well out of the box. With that said, there are things that you can do to make the model easier to fly.
Adding Exponential
You can add EXPO to the aileron, elevator, and rudder controls on the radio (or in the flight controller). I add about 20-30% EXPO to those controls for new pilots as it helps to avoid excessive over-correction causing crashes. As you get more conformable you can reduce this value.
Make sure all the values for the controls are dead-center
Unlike a fixed-wing model you are not really flying the model but telling the flight controller inside it what you want it to do. It uses those instructions, along with the settings in the software and onboard sensors to move in the way you want. Flight controllers will see a middle channel value of 1500 as wanting no movement so if you're model drifts then check that this is the case (see the manual for how to set that up for the model you have). If the model isn't running something like Betaflight where you can check these values on the radio via an app on a computer then you can use the trims on the radio to help counter any 'wandering'.
Creating a curve around the hover point of the model
Depending on how powerful the model is, it may hover around 50% throttle or it may hover using far less. When learning to fly, if you have a radio that will let you, you can add a throttle curve to help flatten the throttle response around the hover point and that can help a lot in the coming lessons.
Center of Gravity and Vibration
Just like any other flying machine, multirotors need the center of gravity to be in the right place. Usually, the center of gravity is in the middle of the model, under the flight controller so make sure that you're not mounting the battery too far to one side else the model will not fly as well. This is even more important in fixed-wing models but we'll get to that in a few articles time. Also, remove vibration where you can, many pilots don't balance props and then complain of noisy video or poorly performing flight controllers that are difficult to tune. Vibration can be 'felt' by the flight controller and misinterpreted as a movement so unexpected twitching or drifting could be due to vibration.
Starting out with Line of Sight
Last time I mentioned that the best way to learn was to start LOS. Too often pilots ignore many of the lessons in the coming list and simply avoid them and move into flying FPV only. That would leave you unable to pass even the most basic competency LOS test and mean that in the event of a problem with your FPV equipment you can safely control, recover, and land the model. I've seen lots of 'crashes' that could have been avoided with a pilot with half-decent LOS skills. Remember that there are no short-cuts to learning how to fly well. Practice and natural talent will decide how quickly you progress but it's that practice that hones any natural ability you have and will improve the skills you have. The following lessons are something that I've created based on something I used to learn to fly helicopters - RADDs school of rotary flight. When I started out learning to fly R/C helicopters RADDs was the go-to way to learn how to fly and be able to control and fly the model well. Modern multirotors are full of technology to help you to fly but each step will help you learn another facet of the radio controls or how the model reacts and flies. Each lesson builds on the ones before them. If you can't crack one of them, then don't worry. Just go back to the lessons before and get them perfect. When you are learning you will find that it takes a lot of concentration for hand-eye coordination and it'll feel like the model is flying on its own and you're barely in control - this is normal. Eventually, the movements and control needed to fly will start to come naturally, and then it'll be automatic so you can focus on getting the model to do what you need it to. Lesson Seven (flying nose in) kicked my butt for months and months until It finally became automatic and now it's as natural as any other orientation. Last tip before we get into the lessons. Fly somewhere with lots of room and nothing you don't want to be broken! An area with a smooth floor can be nice too so something on the model doesn't get caught in the carpet and flipped over.
Radio Mode?
One last thing - I would recommend learning in Mode 2, this is where the movement controls are all on the right stick (like the cyclic on a helicopter) and the throttle and rudder are on the left stick. This means that for the majority of the lessons you can separate the different hands for power and movement. Ok, enough pre-amble - let's get to the start of the lessons!
Lesson one - Learning to Manage the Throttle
I've seen this a few times - someone watching a pilot who can fly the model and asking for a 'go', being handed the controls and told to increase the throttle carefully and then moving its way to fast and the model smashing into the ceiling or becoming a dot in the sky before everyone can blink! It's easy to under-estimate how vital good throttle control is to flying multirotors. If you're flying something like a DJI camera drone then it's slightly different but if you plan to fly almost anything else then you need fine control to hover and move in any direction and maintain the height you want. If you like to play video games and have good hand-eye coordination and fast reflexes and used to holding a game controller then this step can be easier for you.
The AIM
Here it's all about just getting you used to arming and disarming the model and feeling how the model rises and falls without thinking about anything else for the moment.
How To
Make sure you are in angle mode for this part and make sure you are in an area that is big enough for the model to wander a little without hitting something. Place the model facing away from you. Arm the model so the motors turn and raise the throttle until the model starts to lift off the ground, keep increasing the throttle until it rises to waist height, and then uses the throttle to keep it at that height. If it starts to wonder then lower the throttle to land. Disarm it then move the model back to the center of the area again. Just focus on holding the model a few feet in the air and landing again. Don't move onto the next step until you can keep it within a few inches for a few minutes at a time.
Summary
Now you've started to learn then we'll cover the rest of the lessons in the next article. If the model wanders excessively during the hovering lesson then check that the accelerometer is calibrated, the channel values for elevator, rudder, and aileron settle on 1500, and that you've not accidentally moved the trims on the radio so the multirotors thinks you want to fly in a particular direction. Next time we will add some other controls to the throttle control skills you've learned in lesson One so you can correct if the model starts to move about and stay in the air longer.
Written by Painless360